VERC: Style Guide #1 Last edited 5 years ago2019-04-21 12:42:03 UTC
You are viewing an older revision of this wiki page. The current revision may be more detailed and up-to-date.
Click here to see the current revision of this page.
Introduction
The Lab 1 style (not it's official title, but what I call it) is the type of construction seen in the opening levels of Half-Life that Gordon can actually navigate himself. As demonstrated in the game, this was the 'safest' area, with only weaker enemies such as headcrabs posing a danger. You should remember that the architecture is very 'smooth' and transitions between areas are easy to navigate. Good lighting and curves play a big role. Also, the colour-coding that helps you find your way from A to B makes it look more realistic, as well as helping the player. Lab 1 levels are less technical than Lab 2, so you don't find huge computers or laser conduits on walls... Just insert control panels and coke machines
General Notes
Texture names for the main textures used in visible scenes are listed after my comments. These are about 90% correct, but there may be a few inaccuracies, and bear in mind I have only included the fundamental textures and not those used for fine detail.If you find that the material here is not enough, I suggest you go around the levels yourself taking as many screenshots as you can. By the end of your shooting, you should have enough material in terms of images to recreate most of the structures pictured.
The thing you should realise about Lab 1 style maps is that the textures are mainly a mixture of those odd green panels and the grey concrete (available in light and dark flavours). They are mostly well lit via white light sources and aren't overly complicated with stairs and clunky platforms, instead using ramps and smooth, controlled lifts (or elevators).
- c1a0_labw5
- c1a0_labw7
- c1a1_flr2c
- c1a0_labglu
- c2a4e_w1c
- c2a4e_w1b
- +0~fifties_lgt2
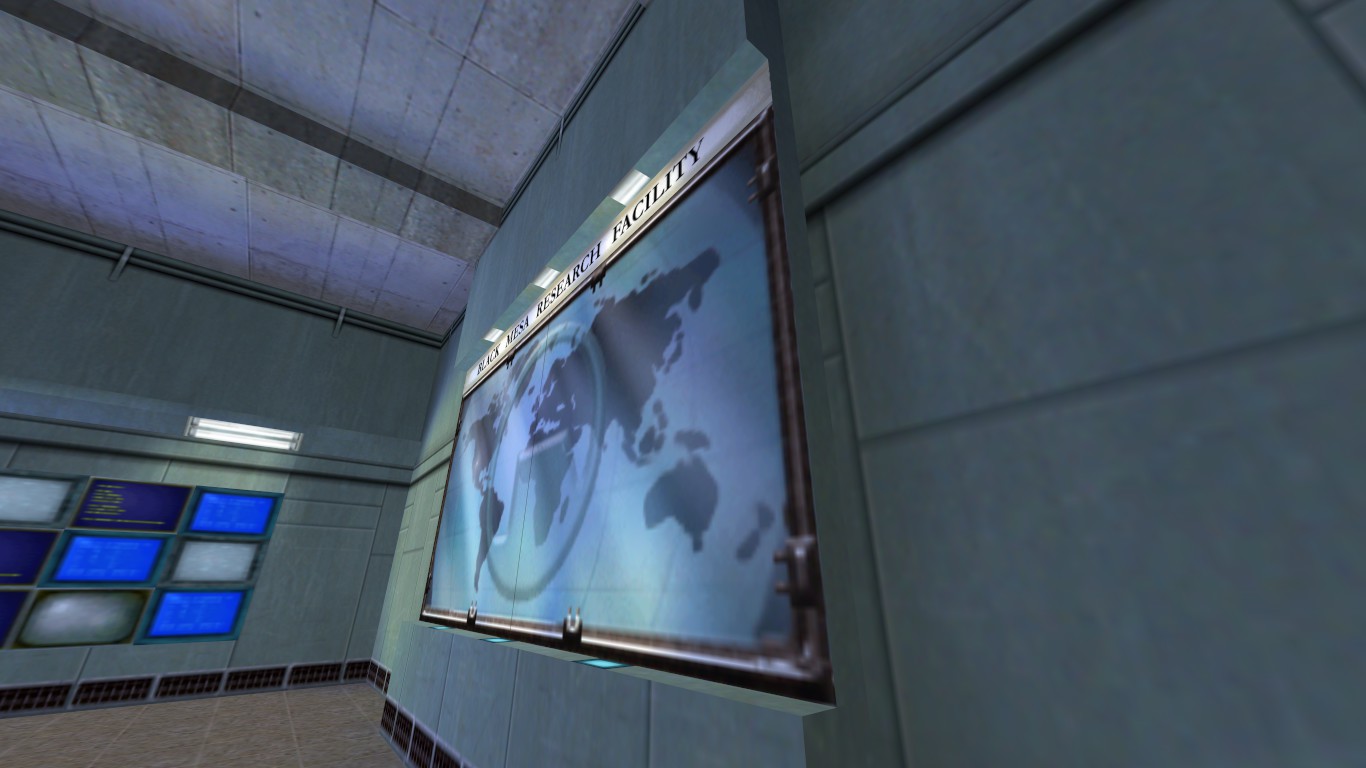
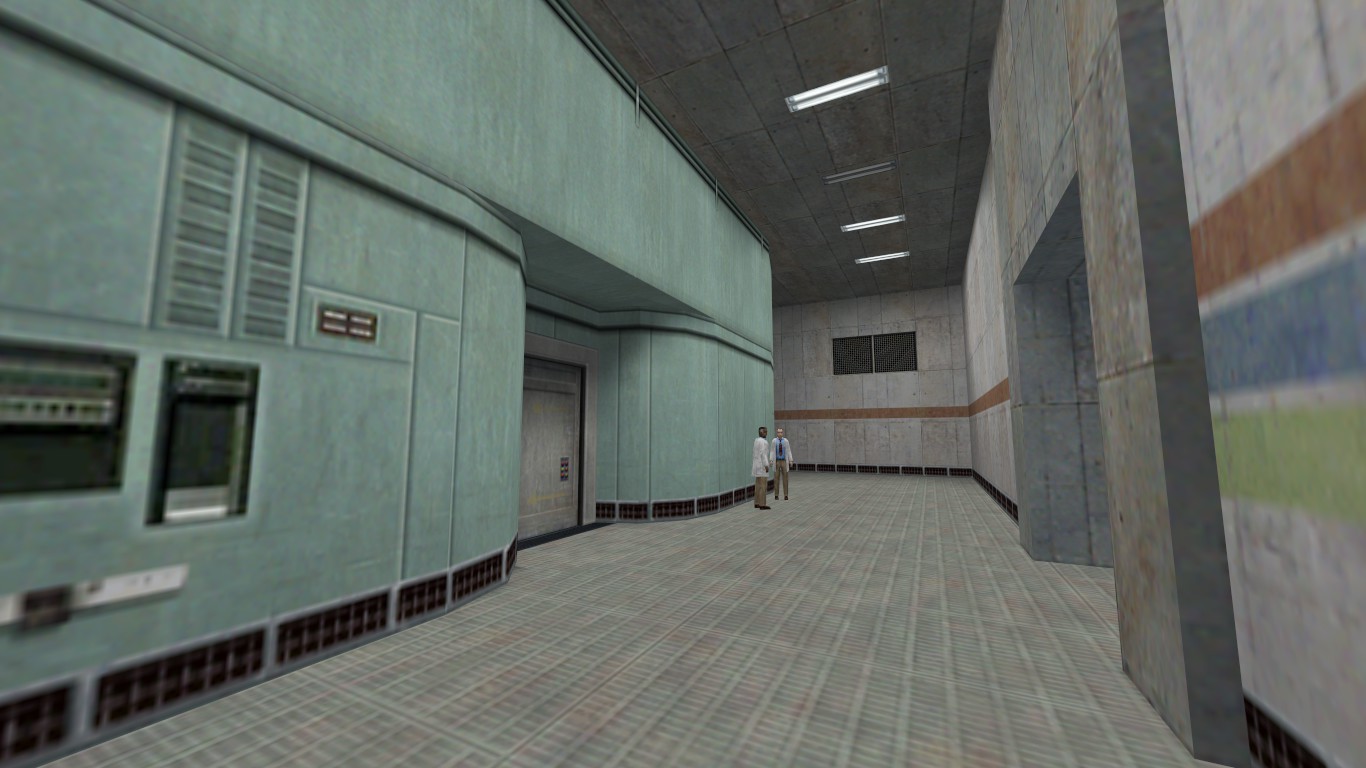
You can see in this shot how c2a4e_w1c and c2a4e_w1b textures are used as supports on the ceiling and down the walls. Also, see on the wall by the big map how the texture is c2a4e_w1b for a smooth transition into the corridor. The hanging light fixings are also worth noting.
- c1a0_labw7
- c1a1_flr2c
- c1a0_labglu
- c2a4e_w1c
- c2a4e_w1b
- +0~white
- black
- signc1a1_1
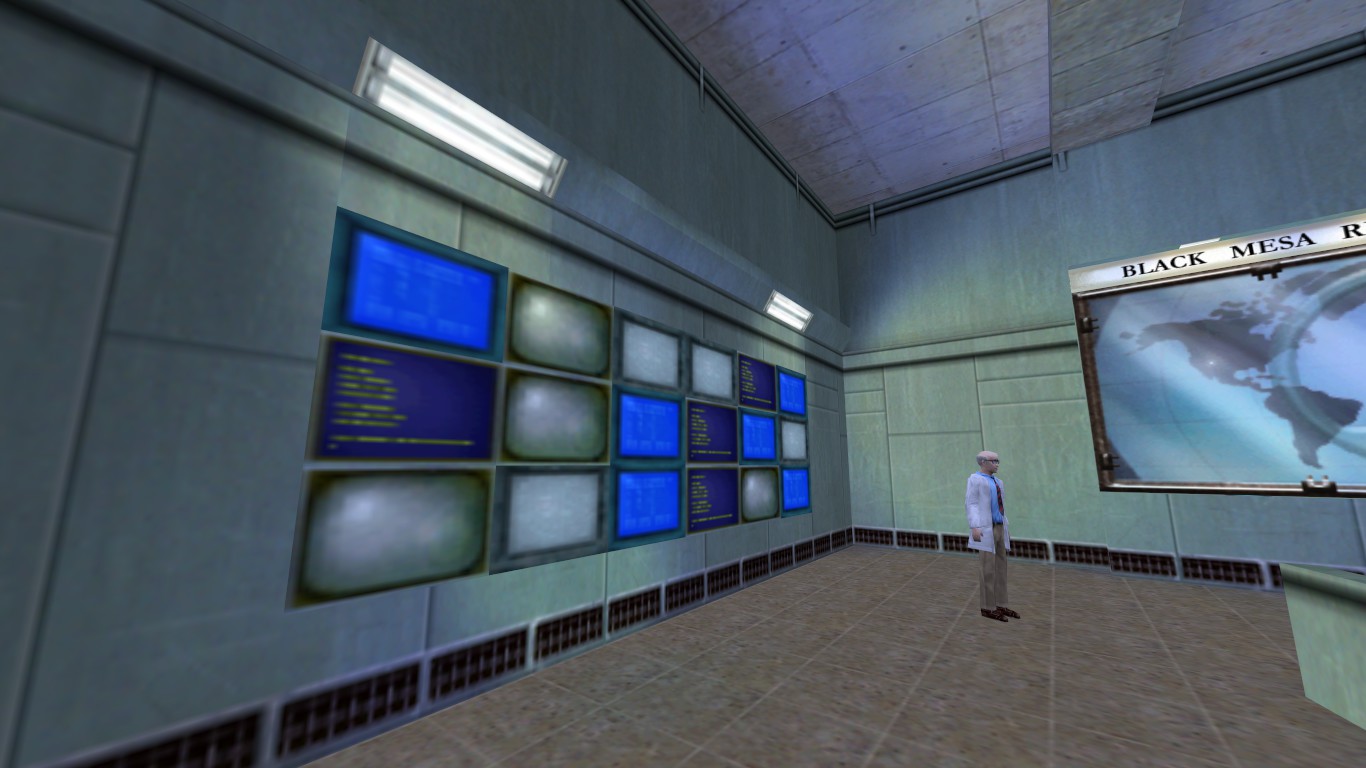
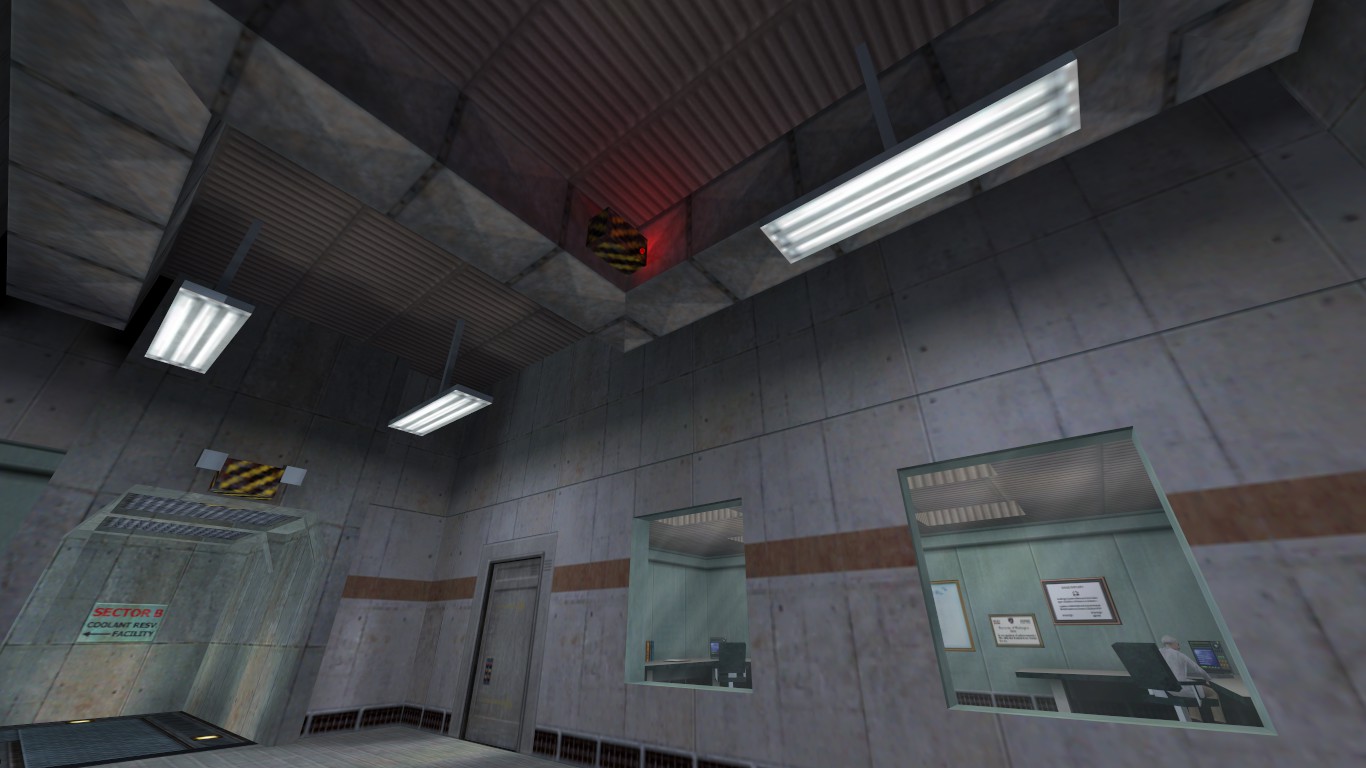
See how the big display isn't just a cutting in the wall, but actually juts out to provide depth. The light mounts for the big display are held inside the wall at the top of it. Also notice that although the room only has white lights, there is a blue tinge created by the monitors on the far wall.
- c1a0_labw5
- c1a0_labw7
- c1a1_flr2c
- c1a0_labglu
- c2a4e_w1c
- c2a4e_w1b
- +0~fifties_lgt2
- lab1_map1
- lab1_map2
- drkmtl_scrn3
- drkmtl_scrn2
- +0drkmtl_scrn
- +0~lab_crt4
- fifties_mon1b
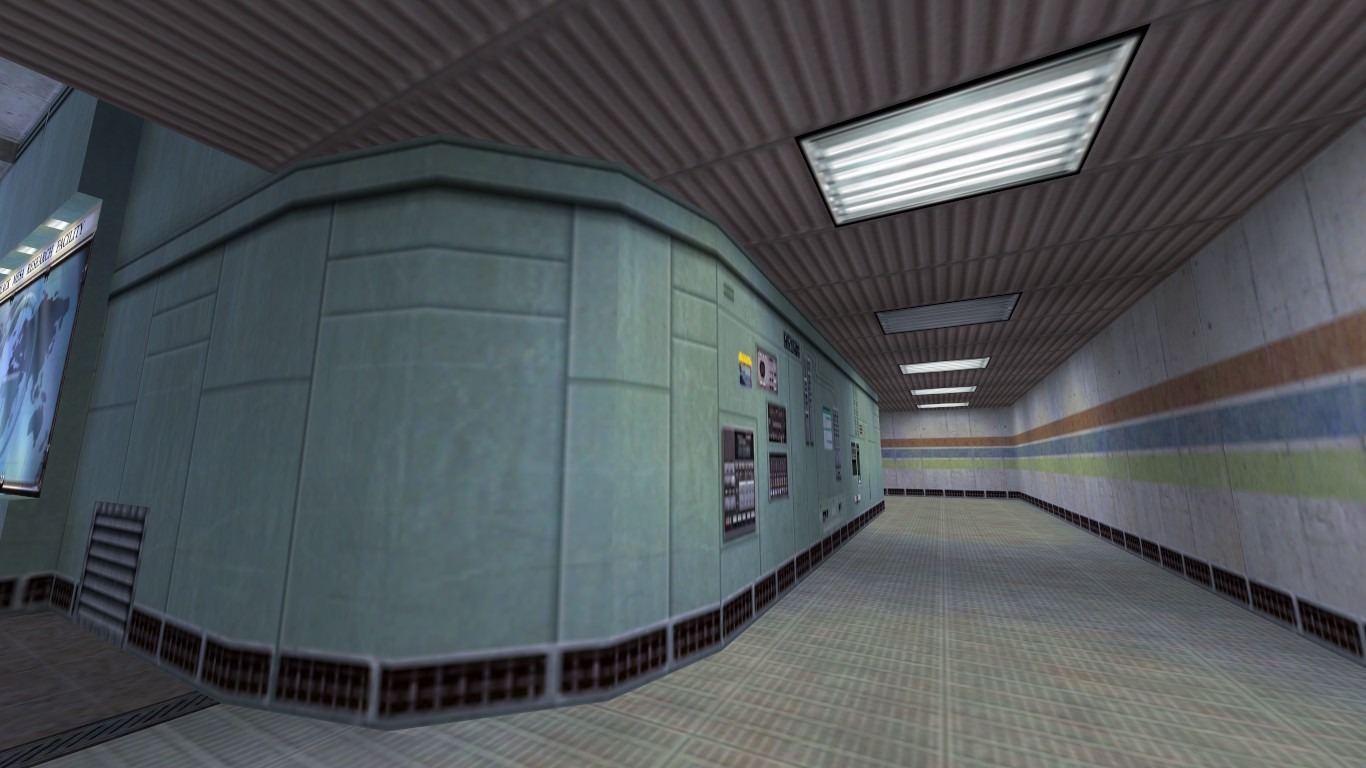
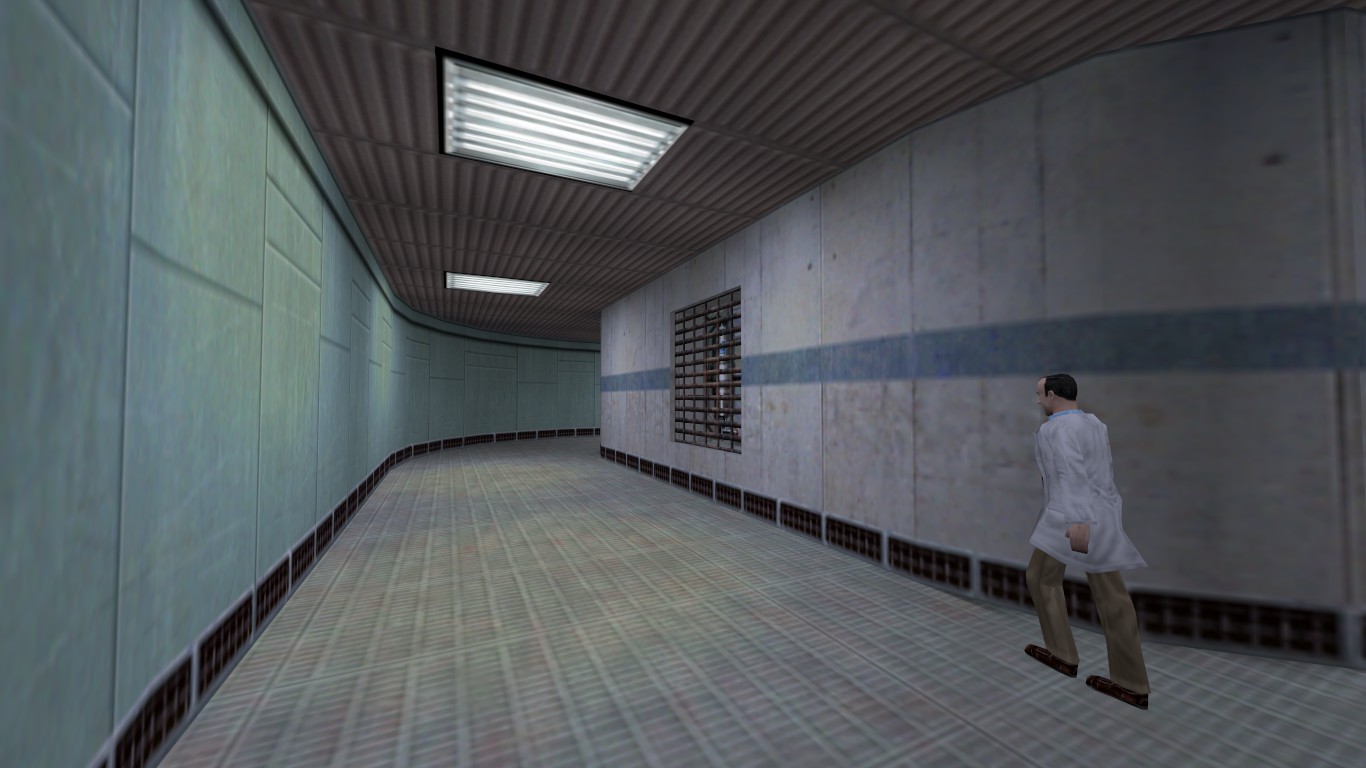
Curved corners such as this are popular with the Lab 1 style, and you can see here that it is actually created out of a 12 sided cylinder cut down to 90? so only 3 sides are showing. Also see that the lights in these corridors are inset into the ceiling, and not all working.
- c1a0_labw5
- c1a0_labw7
- c1a1_flr2c
- c1a0_c1
- c1a0_w1d1
- c1a0_labw8
- c1a0_labflre
- +0~fifts_lght01
- +A~fifts_lght01
This 'room' demonstrates further use of curves, as well as supports. Also see that the door carving has an overhang, and so the top of the door is actually shaded. Like the last image, not all the ceiling mount likes are working either. Don't forget about the border supports around the opening on the right.
- c1a0_labw7
- c1a0_labw4
- c1a0_labw6
- c1a0_w1d1
- c1a0_w1d5
- c1a0_labflre
- +0~fifties_lgt2
- c1a0b_dr4
- c1a0b_dr4b
- c2a4e_w1b
The use of the light texture +0~fifts_lght01 here shows that the whole texture need not be used. Also see how the ducts are hidden in the near-darkness, but still lit by a small red light. The ability to see into offices through windows at this point makes the area look much bigger.
- c1a0_w1d5
- c1a0_labw5
- c1a0b_dr4
- c1a0b_dr4b
- duct_flr01
- glass_bright
- +0~fifts_lght01
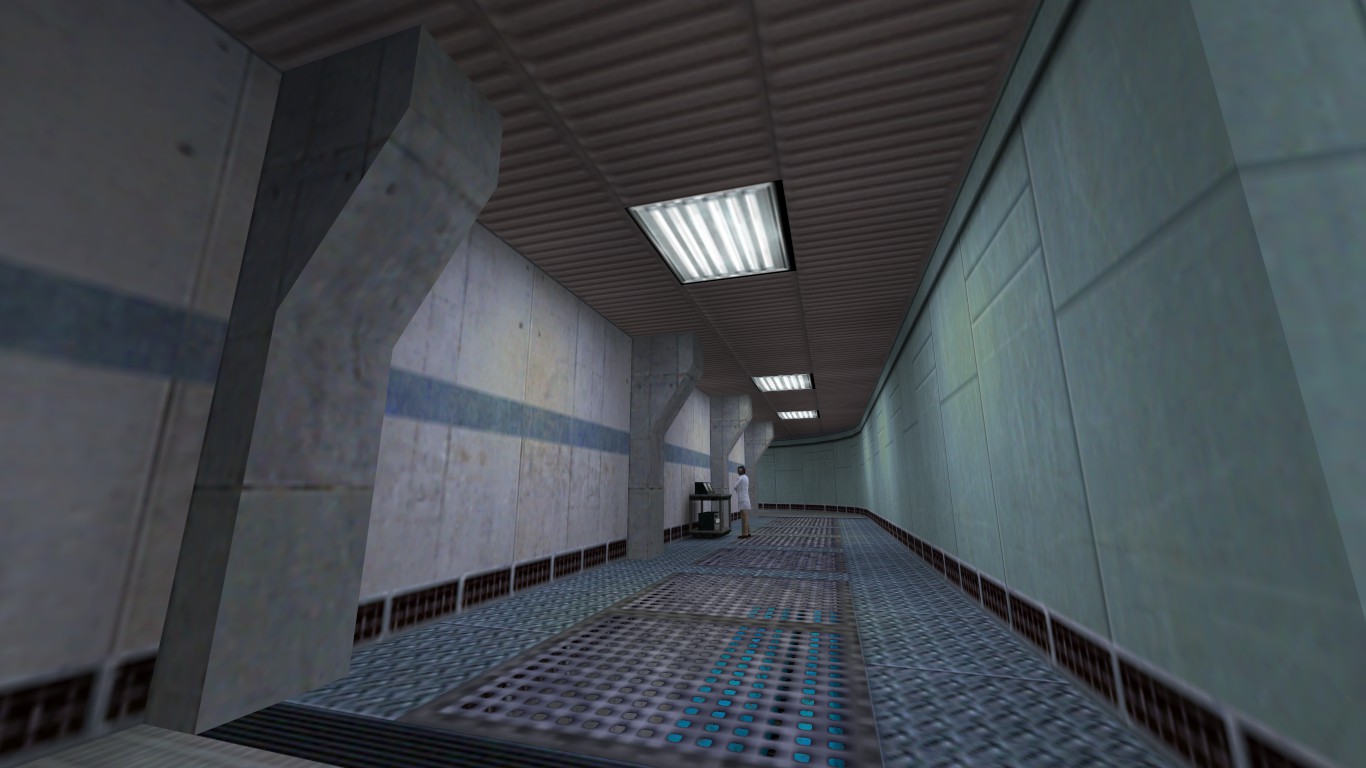
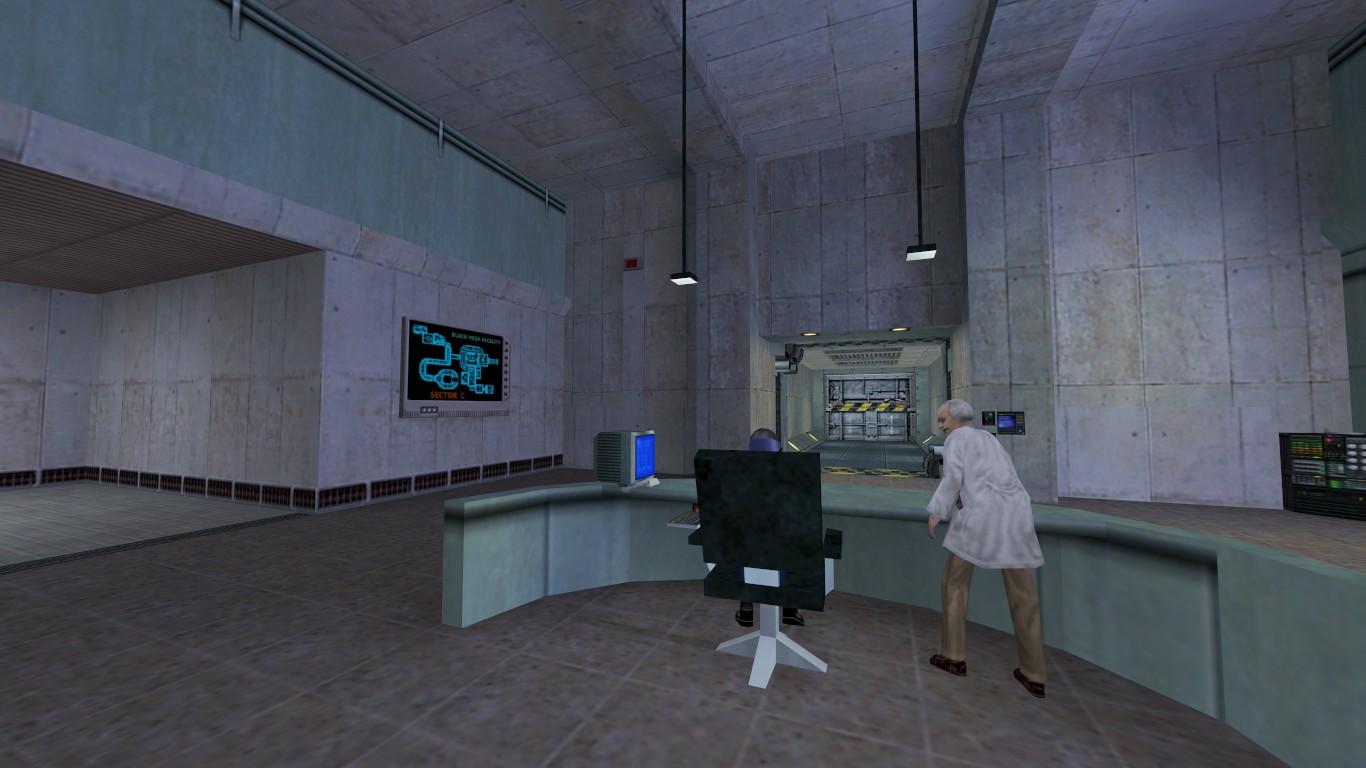
Supports around the left wall make this corridor look far more interesting than if they weren't there. The computer cart is a similar safety mechanism. Also, the grates in the floor concealing pipes add some further depth, as well as atmosphere as the player walks over them creating a 'clanging' sound.
- c1a0_w1d5
- c1a0_c1
- c2a4e_w1b
- c1a0_labw5
- generic015v2
- c1a0_labflrc
- {grate2
- +0~fifts_lght01
More curves... these are an important part of the Lab 1 style! Also see that the wall centre-right has some tech stuff showing through in a gap, covered by another grate. The outside curves of the green walls have about 6 sides.
- c1a0_w1d4
- c1a0_c1
- c1a0_labw5
- {grate2a
- c1a0_labflrc
- +0~fifts_lght01
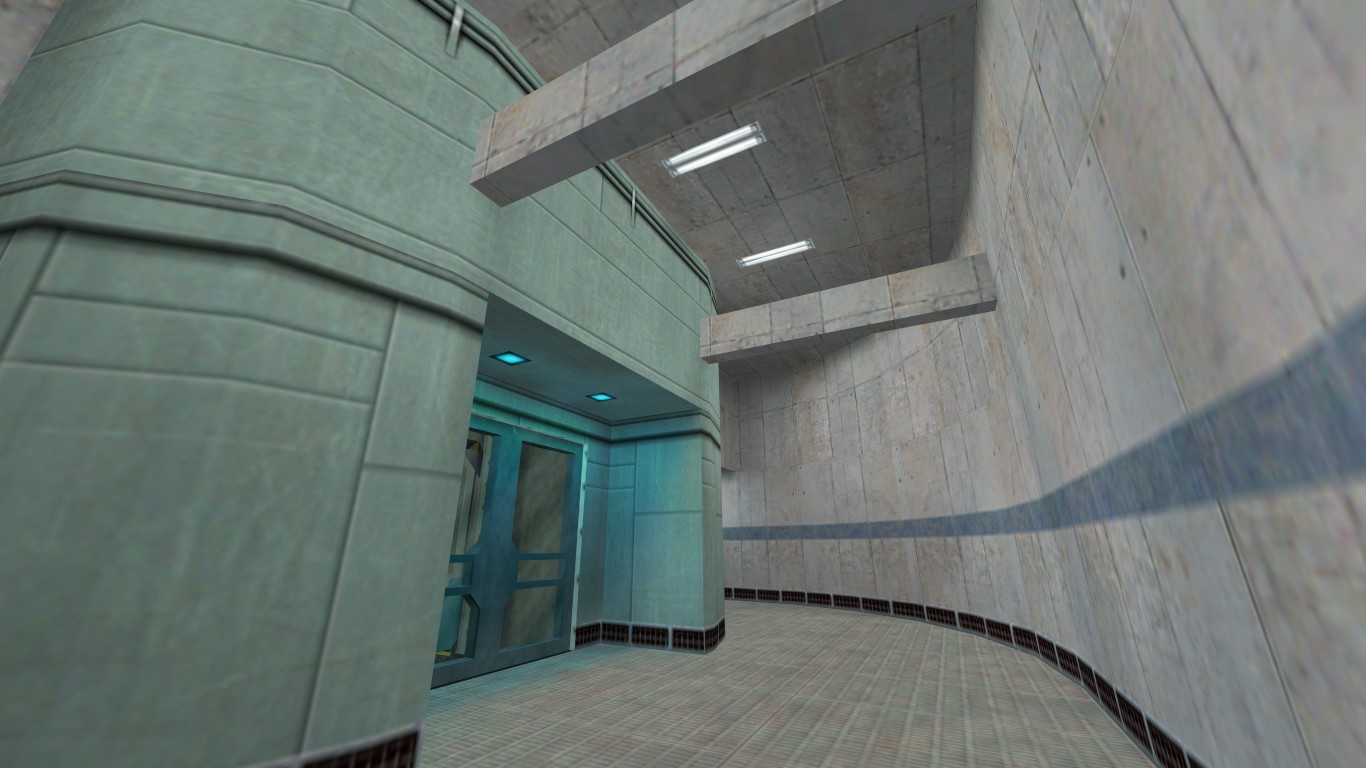
The things to notice about this shot are the concrete beams overhead, and the very adequate lighting. The blue created by some small mountings by the door add just a touch of variation to prevent everything becoming too uniform.
- c1a0_labw7
- c1a0_labw4
- c1a0_labw6
- c1a0_w1d1
- c1a0_w1d5
- c1a0_labflre
- +0~fifties_lgt2
- c1a0b_dr4
- c1a0b_dr4b
- c2a4e_w1
Notes From The Author
There you have a style guide... not the 'official' version though, should one exist. Valve Software would probably have something to say about my observations above, as they are the ones who decide what the real 'Lab 1' style is. The above therefore, is merely a guide to save you some time. Like anything, take it with a touch of salt - there will always be a time where you can break the suggestions above to slightly personalise the style should you so wish.Comments
You must log in to post a comment. You can login or register a new account.