Tutorial: Terrain Last edited 2 years ago2022-09-01 12:29:04 UTC
You are viewing an older revision of this wiki page. The current revision may be more detailed and up-to-date.
Click here to see the current revision of this page.
Terrain
This tutorial explains how to make a semi realistic terrain in Hammer without using a different program to generate it automatically.First make a brush at 265-256. I like that size but you can make it any size. If you want the ground or Cliff face to be more detailed, then you can make the blocks smaller.
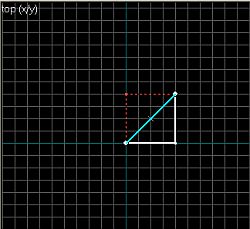
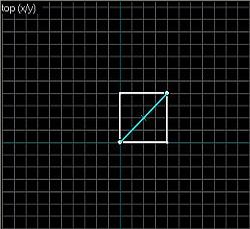
Use the Clipping tool and split the brush into two triangles by selecting the brush you just made and then selecting the Clipping Tool [Shift+X]. Draw a line diagonally through the brush as seen in the top view (x/y). If you now use Shift+X the 2D view will change, and one side or the other of the brush will have a dotted red line on it. If you use Enter now you will loose the red dotted side of your square. Make sure the square is all white like the screen shots below before you use "Enter".You need to duplicate these triangles, by selecting the original two triangles use shift and drag them to copy the square. You can also select the two triangles and Right Click your mouse on them and choose copy from the drop down list or use Ctrl+C.
Now you should have a whole field full of triangles. Not very interesting is it?
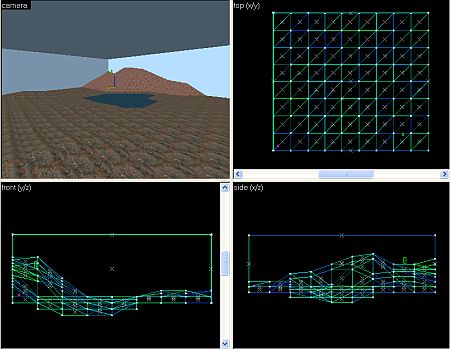
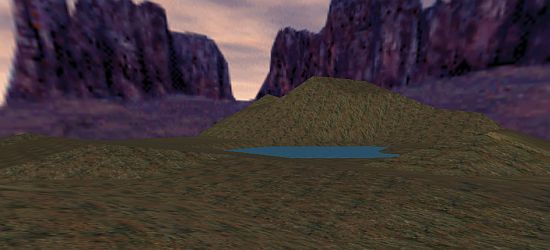
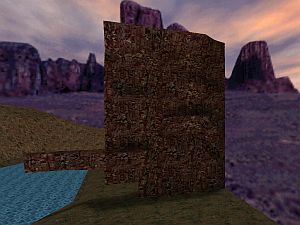
Select all the triangles and go into vertex manipulation. Select a few vertexes and move them randomly around so you will get a field of random vertexes. Select any triangle you like and use Vertex Manipulation and raise any side you like. Now check the map for problems Alt+P and make sure there are no invalid solid structures. If you have an error like this, then the brush is invalid, and the Vertex manipulation has gone wrong. If you don't know how to use Vertex Manipulation, I suggest you get on over to Tutorial: Vertex Manipulation Intro and then give the more advanced VM tutorial a try.Remember to check for Invalid Solid Structure Errors. Do it every time you change a brush and you won't have problems when you compile. In the example map I have created a small valley, a mountain and a lake. The Lake can be made into a func_water but the entity brush will need to be enclosed with other brushes to bring it into the map.For water that works use any texture starting with ! and you will not need to turn it into func_water. Ok, so you will not get waves, but hey, it saves the problems of having an entity brush outside your map. What about Cliff's and Rock Faces.... just do the same thing, but on it's side.Ok, so it isn't the greatest Cliff Face in the world... but it will give you the idea. I hope I have helped you to make you maps more realistic.
Happy Mapping!
- Categories
- Tutorials
- Advanced Tutorials
- Goldsource Tutorials
- Mapping
5 Comments
You must log in to post a comment. You can login or register a new account.

Now I use this all the time.
Good method, great guide! I give it a 5.