Vlatitude Archive: Alternative rocks and desert technique Last edited 5 years ago2019-04-25 02:58:31 UTC
You are viewing an older revision of this wiki page. The current revision may be more detailed and up-to-date.
Click here to see the current revision of this page.
Okay, a little introduction first. This tutorial is meant for people who have reasonable mapping experience. If you're completely new to mapping, this tutorial probably is not suited for you. You better take a look at the GenSurf program (widely available). But you don't have to be a professional in order to be able to use the technique described here. Just pay attention and experiment a lot! You will be using Worldcraft's Vertex tool a lot for the rocks-making technique described here. So be careful with what you do with that, since you easily create invalid solid brushes when you misuse the tool.
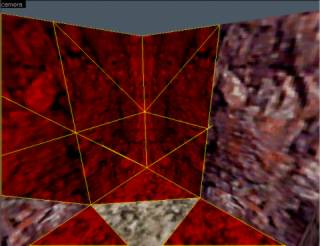
We are going to make realistic looking rocks and desert-ground using triangles. Using triangles has a few great advantages:
- The Quake engine Half-Life uses is based on triangles, so if you align your triangles alongside their edges, the engine won't need to split up its faces, thus improving the speed of your map
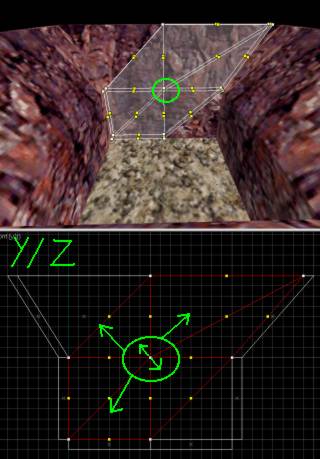
- You can move the vertexes of triangles around quite a lot without getting invalid brushes
- For every rock/sand brush you make, set the scale of the textures to 2.0 instead of 1.0. This decreases the amount of faces
- Switch off the texture lock (Tools | Texture Lock or Shift-L). Sporadic terrain should have sporadic texture alignment
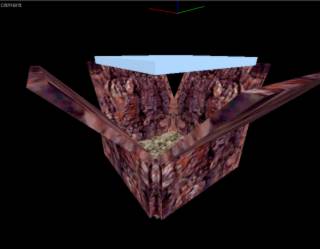
- Add 4 triangles (1 to each corner) and make them align EXACTLY with the triangles you already made
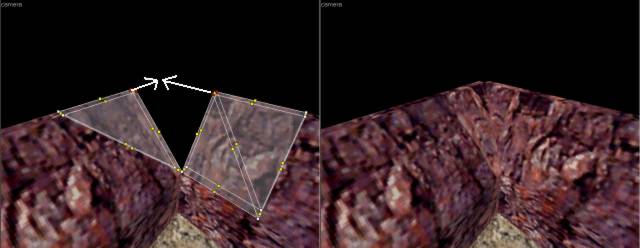
- Move the upper vertexes of the triangles in the corners, so they fit exactly and form a rectangle again
Now it's time for you to play around with this technique. But before I quit I want to tell you the following:
- if you want to make an outdoor scene in your map, you should design how your mountain scene will look before you make any brushes! With a predefined plan, you can make the walls for it (split up in triangles as explained above). When you've done so, you can start moving the vertexes around for the natural look (see the screenshot below, it's the start scene I used for the tutorial map)
- Whenever possible, try to align your triangles which make up the ground and walls to the edges of any building you might put into your map. This again will keep your r_speeds low!
- I've used a special way to 'close' the tutorial map (i.e. it won't leak). I didn't place a huge skybox around it (which is a tragic mistake) but did it in a way that keeps the r_speeds nice!
- Categories
- Archived Articles
- Vlatitude Archive
- Tutorials
- Goldsource Tutorials
- Mapping
- Images Required
Comments
You must log in to post a comment. You can login or register a new account.


