Vlatitude Archive: HL2 - Shutters Last edited 5 years ago2019-04-25 04:02:37 UTC
You are viewing an older revision of this wiki page. The current revision may be more detailed and up-to-date.
Click here to see the current revision of this page.
Firstly, whilst this is a "shutter" tutorial, with a bit of work and imagination this could be altered to make "western" style doors that you see in films, hinged doors like you saw in HL2, or pressure sensitive trap doors that you fall through. The possibilities are endless.
In this tutorial I assume you have a basic knowledge of Hammer and its entities, we will be using:
The Block Tool
The Texture Tool
func_detail block entities
phys_hinge entities.
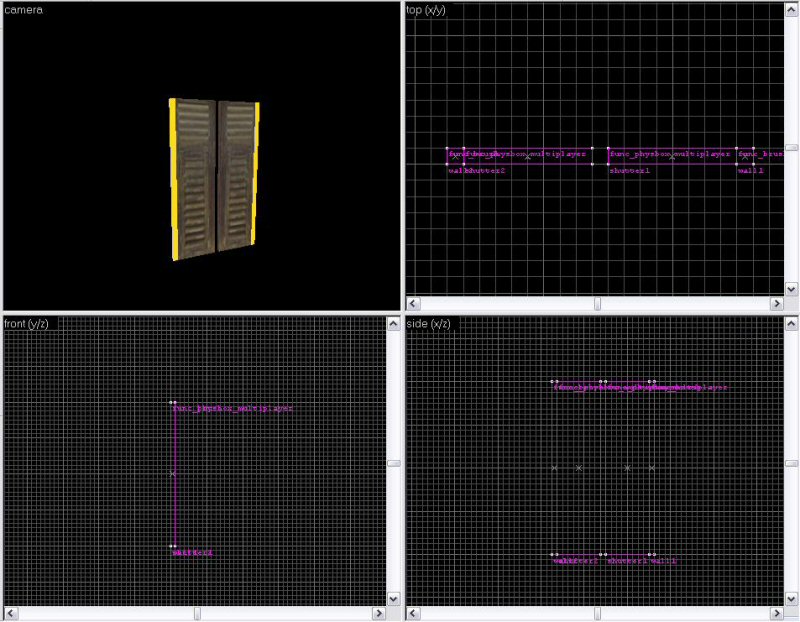
Right, first we need to make our shutters, so I've just made some simple blocks 16 units wide, 64 units tall and 2 units deep. I have made these out of a generic wood texture and applied a shutter texture to the front and back. You can either make one large shutter and clip it in two, or two separate smaller ones. It doesn't matter which method you use as long as you end up with the same thing. Tie each shutter separately to a func_physbox entity, named shutter1 and shutter2.
Next make some brushes at the far sides of the shutters. I suggest using 2 units wide, 64 units high and 2 units deep for this to keep it all the same. These brushes should be covered in the "nodraw" texture and these will be the point the shutters hinge around. The reason for making them invisible? Well, it means you can have a default shutter set without having to customise it each time for every window for every frame. It�s simple really. Tie each of these pillars to func_brush entities, these will make them easy to render and won�t clip the world brushes. Name them wall1 and wall2Here you can see the main parts of the shutter in place
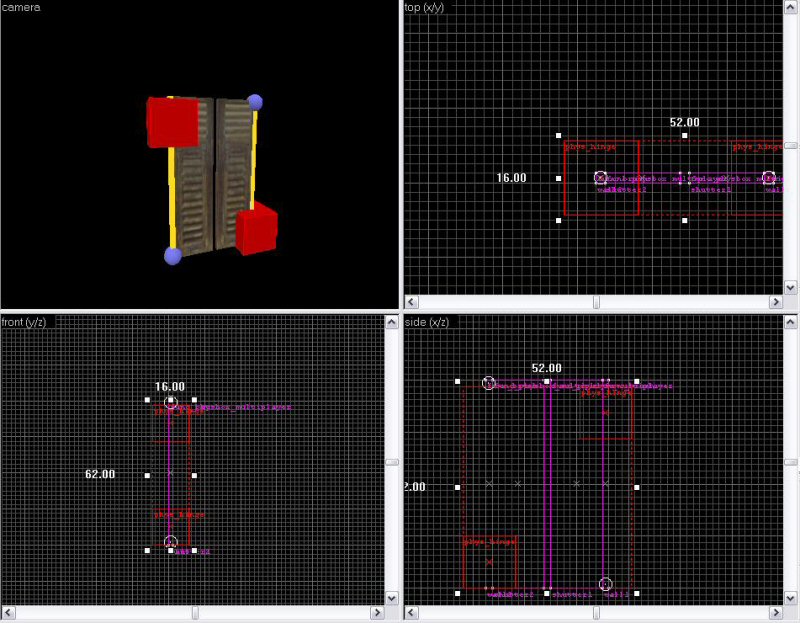
Next we need the actual "hinge". To do this we use a phys_hinge entity. Place this entity exactly over the join between your shutter and its pillar. Then click and drag the little circle in the middle down vertically, this must be completely vertical and perpendicular. This is the axis that the hinge rotates around. Without this, your physbox will just fall off. This is not good. Now then, in the properties we need to set the values of:
Entity 1: shutter1
Entity 2: wall1
Force limit to break: Whatever you want, anything under 10000 will mean only grenades can blow it off in CS, above 20000, no weapons can blow it off
Sound On Break Give it a nice wood break sound
Friction: Anywhere from 1-3 is good, depending on size etc
Repeat for the other shutter with shutter2 and wall2
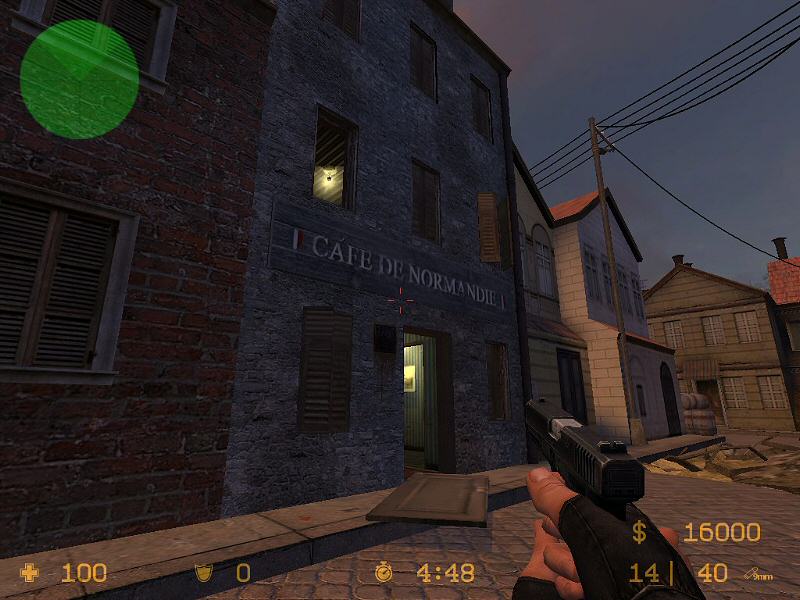
It should now look something like this, I've put one hinge at the top, with the axis going down, and the other at the bottom with the axis going up. No real reason, it just helps it look nice and clean, you could have 2 hinges, for something big but for small shutters alternate ones is good enough.Now make a nice house for them to go in, compile and away you go. Here's a shot of my shutters in a building. I had them start at an angle, giving some protection to the defenders inside, when attacked, the bullets ricochet through the shutters into the room, and blast them closed. A burst from inside opens them and grenades blow them off! You can make it so you can walk through the shutters if you don't want players to knock them as they run by, obviously for hinged doors you don't want to do this. There are lots of options in each of the entities flags settings you can tweak.UPDATED NOTE: If your using these objects in a multiplayer map, its best to use func_physbox_multiplayer shutters as these reduce the network load.
Any comments, questions, ideas or general feedback send them on over.
Comments
You must log in to post a comment. You can login or register a new account.


