Tutorial: Carving Last edited 6 years ago2018-10-24 08:17:11 UTC
You are viewing an older revision of this wiki page. The current revision may be more detailed and up-to-date.
Click here to see the current revision of this page.
What Is Carving?
The carve tool is a feature in hammer that allows a mapper to 'cut' a hole through map geometry with the guide of another piece of geometry. If this doesn't make sense, you should be able to figure it out once we get into the instruction of this tutorial.If this is the first time that you've ever heard of 'carving' in Hammer, there is something very important you must realise before you even read this tutorial. The largest reason you shouldn't use the carve tool is because it's very easy to be misused. It also often produces messy results in comparison to what you could create by manually brushing a shape out. Later on when you'll want to refine your map, these unworkable shapes will cause you problems. In the end, you'll save yourself a lot of trouble by brushing out your shapes by hand.
The largest reason this tutorial is even being written is because: If you're going to carve, you might as well do it correctly.
All that said, it's time to carve! =D
Carving
Starting off, we'll perform a simple example of carving.Open up hammer and create a box.
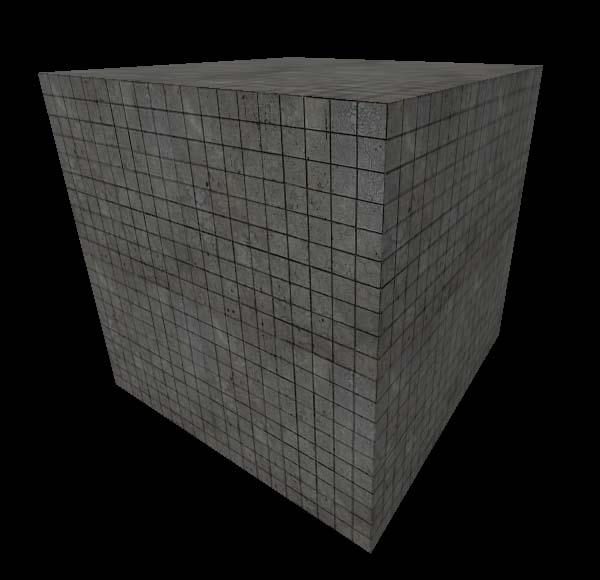 Woot a box
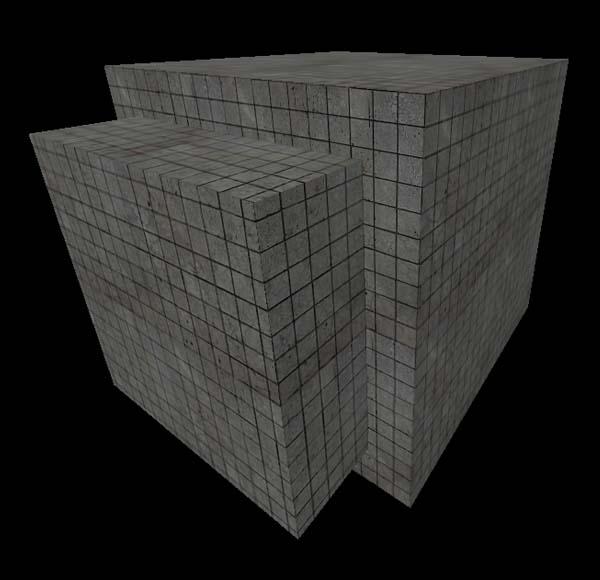 Yaay another box!!
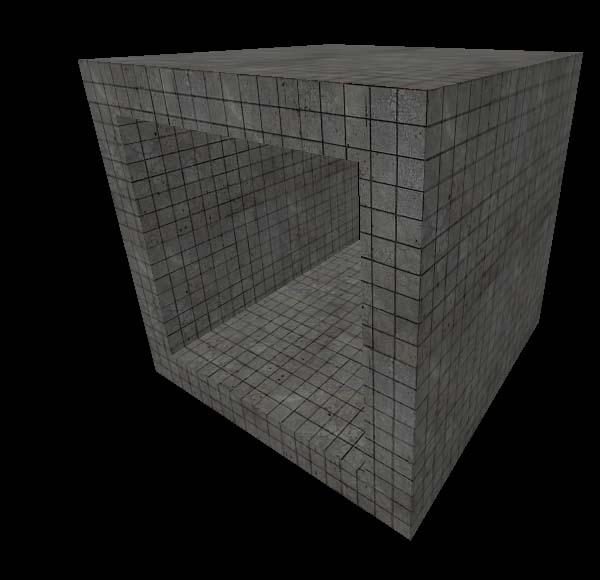 Where'd the box go?
Your prism has 'carved' through the original box and removed specifically the space it previously occupied from the original box.
Things to know
- When you carve, you need to carve only through what's necessary. (You'll see what I mean later.)
- Carving with cylinders produces unmanageable results.
- Carving with cylinders often produce invalid shapes.
- Carving with cylinders can sometimes crash hammer or freeze your entire computer. This wont happen if you're careful.
- Do not carve with arches. Period.
- Carving with multiple cylinders is [i]always[/i] a bad idea.
- When you carve, the resulting shape of a carved object will be several brushes that will all be grouped. To ungroup them for individual change, right click the shape in a 2D view and click Ungroup.
- Carving can only be done with one object or group at a time. (Selecting and carving with two completely different cubes meant to carve into the same object will result in only one of them carving. Carve one object at a time.)
- Carving can be done through multiple objects at one time. (Not to be confused with "By" multiple objects at one time.)
- Do not carve whenever possible.
Examples, Problems, and Alternatives
Box-on-Box Carving
This is the style of carving that we approached earlier. Carving with purely boxes is the only form of carving guaranteed to not mess up. It works but it is still somewhat inefficient.You can make a box shaped hole much quicker than carving by our alternate shift+drag approach. (
Ctrl+L and Ctrl+I to mirror objects also speed this up considerably.)Make a prism like earlier. (The size does not matter.)
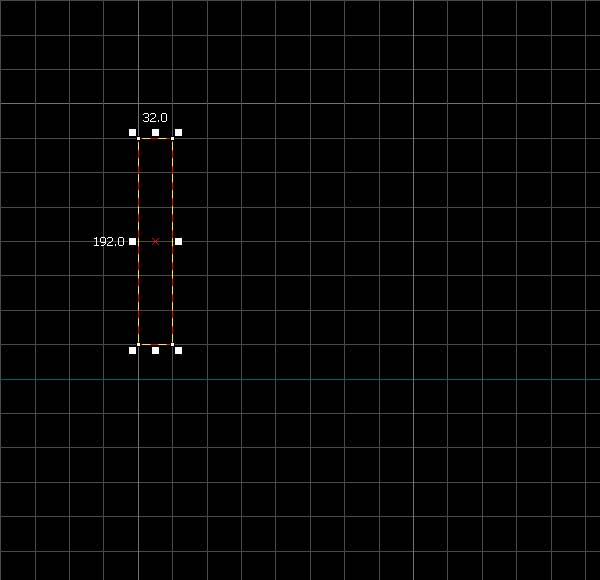 Another box
 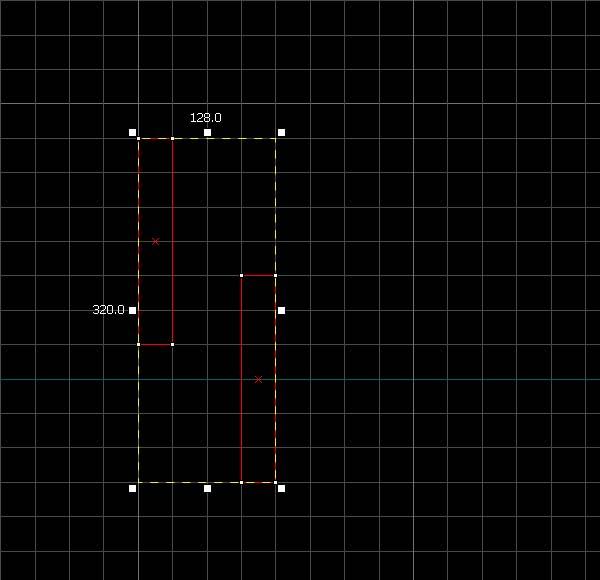 Boxy has an identical brother
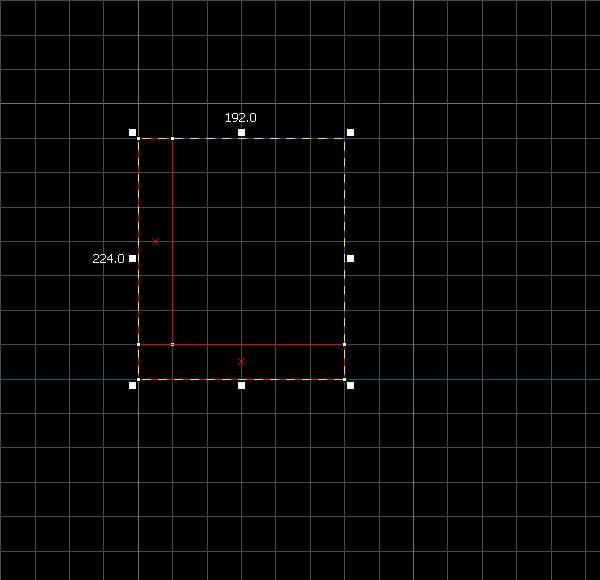 Half a frame?Hmm... looks curiously like earlier
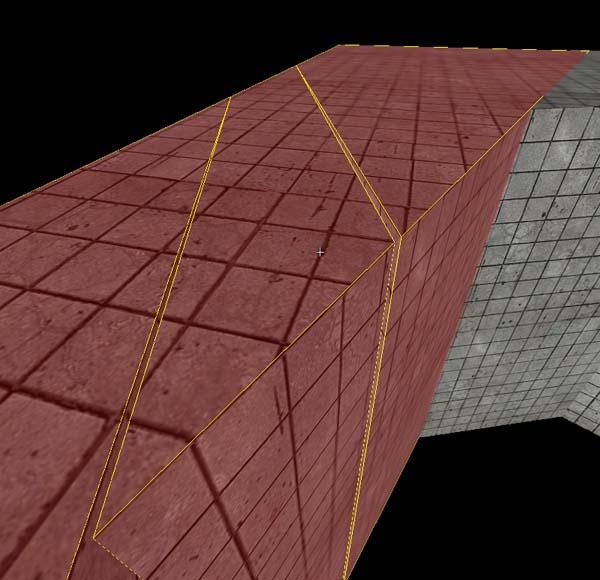
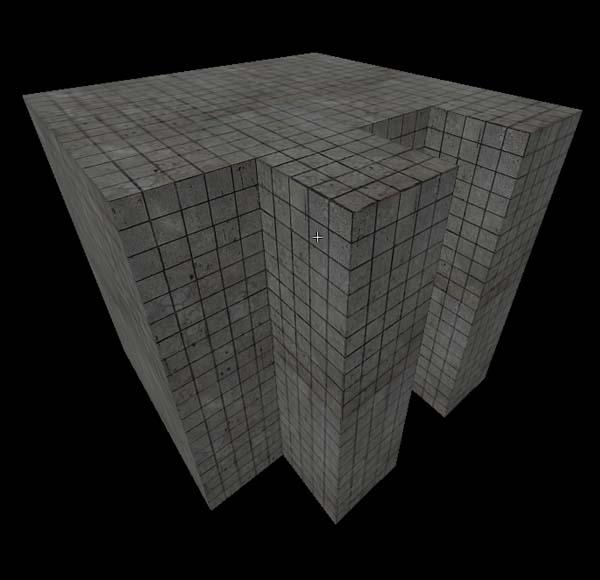 Slits
SlitsCylinder-on-box Carving
Cylinder-on-box carving is generally frowned upon. When you carve like this, the resulting shape is extremely likely to have off-grid vertices on it that will disable you from editing the shape any further.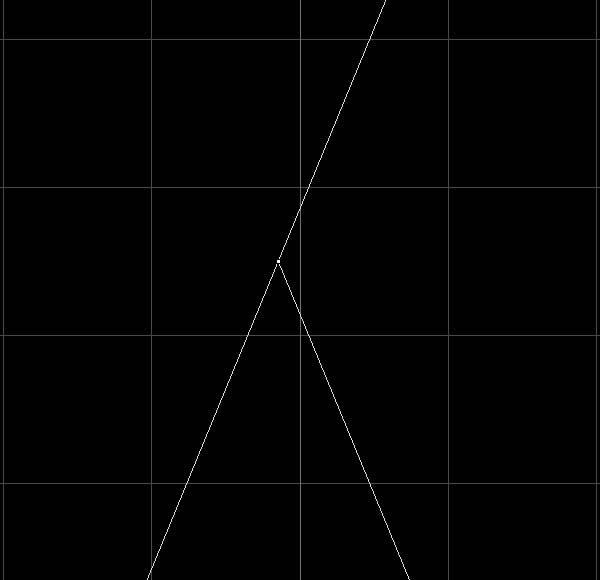 Cant quite reach them, bah.
If you decide to re-locate one to a grid location, little hair-line gaps appear in your cylinder.
 Unnaturally crisp looking cracks, :/
Ctrl+Z.With the introduction of cylinders comes the importance of the carving rule from earlier that states, "When you carve, you need to carve only through what's necessary."
If you cut a cylinder through an entire box with out being prepared, your resulting box is now very annoying and troublesome to work with. With it's off-grid vertices, you can no longer manipulate it's edges to fit into a needed position.
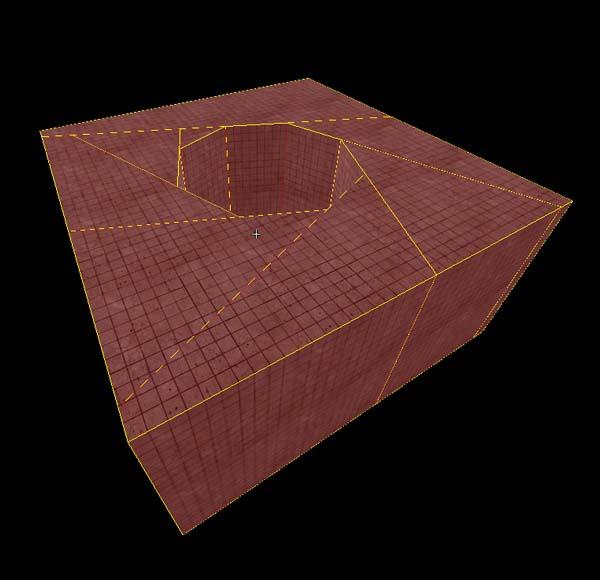 Straight to carving.
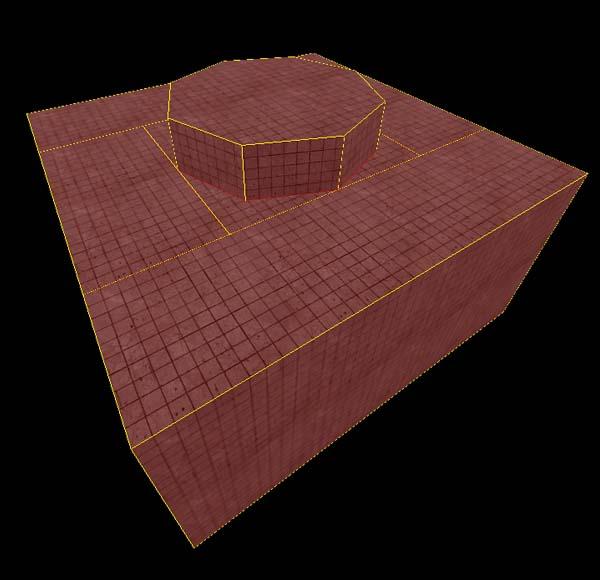 Setting it up the right way.
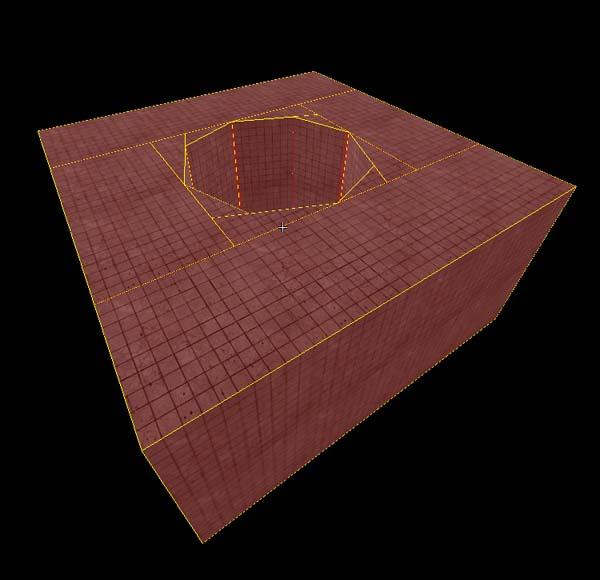 Looks better
 If you are unsure about vertex manipulation, be sure to check out http://www.twhl.co.za/tutorial.php?id=18 and http://www.twhl.co.za/tutorial.php?id=32 for the part one and two tutorials over vertex manipulation. These tutorials (particularly the second) cover many of the same topics and problems associated with carving vs. vertex manipulation.
Alternatively, cylinders can also be used to make slits. Just be sure to section off only the affected areas like earlier or you will run into several problems.
Cylinder-on-Cylinder Carving
Even though you'll almost never have a need for it, it might as well be covered. In cylinder carving, there is no sectioning off. Almost every carve will result in something entirely unchangeable or glitched in some way or another. These shapes are quite usable, just don't expect to modify them.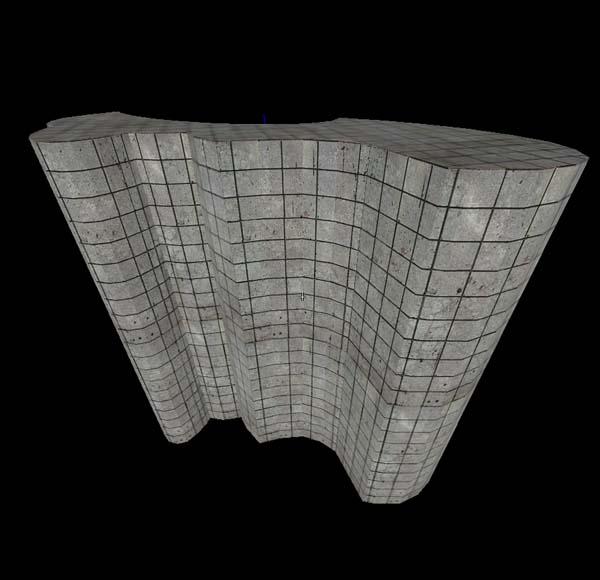 Funky shapes =0
Arch-on-ANYTHING Carving
This is the epiphany of unholiness in the mapping scale of "No."Carving arches always results in an error. Much of the time it will create brushes that extend into infinity and several hundred duplicate brushes of the same object. This kind of carving is guaranteed to slow your computer down to some extent, if not crash it.
If you think that the following pictures look nice and innocent, i've taken the liberty of adding the individual brush counts of each screenshot, for your amusement.
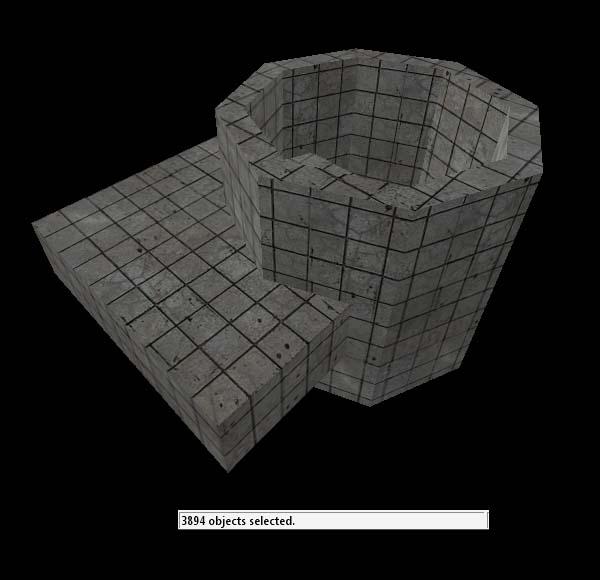 Innocent you say?
 I think not.
The only alternative to that period is vertex manipulation. It's annoying and tiresome, but it will actually work.
Finish
Now you should have a pretty good grasp on the ins and outs of carving, so venture forth and avoid using it!- Categories
- Tutorials
- Beginner Tutorials
- General Tutorials
13 Comments
You must log in to post a comment. You can login or register a new account.
Nice tutorial but I don't see point in explaining something that you shouldn't use by any mean.
Good Job Grim!
"This is the epiphany of un-holliness in the mapping scale of "No."
Well-said. Nice stuff.
D
Some invalid HTML on this page too, as a note to the moderators. Should probably restrict the way tutorial-writers can use HTML (like <li>'s without <ul>'s).
Anyway, very nice tutorial.
I dont blame you for not checking
So yeah, don't use carve.
Nicely written tutorial you got yourself here. Interesting and amusing. A deadly combo. =D
Puts on shades
is epic.
YEEEEEEEEEEAAAAAAAAAAAAAAAAAAAAAAAAAAAAAAHHHHHHHH