Tutorial: Detailing Maps Last edited 10 months ago2024-01-08 12:17:12 UTC
Detailing your map
The art of making it pretty
Detailing your map can be very beneficial to players' experiences and can draw more attention to your mod. But detailing can be a hard thing to master and is something that you will improve at over time. But lucky for you there are some easy ways to make your maps more visually interesting!
Compiled here is a list of small tips and tricks you can consider to 'spice up' your map. (Not listed in order of importance.) Note that I don't always explain how to do these things - they're just ideas for how you can improve your map.
Reference photos
While it is possible to detail a scene off of what you think would fit, it can sometimes help to reference how real life areas (or other games) handle those scenes. While reference photos can be taken from a real life location you visit or through it being shared around file sharing sites and chat rooms the easiest way to find references is by searching through Google images or through an equivalent search engine.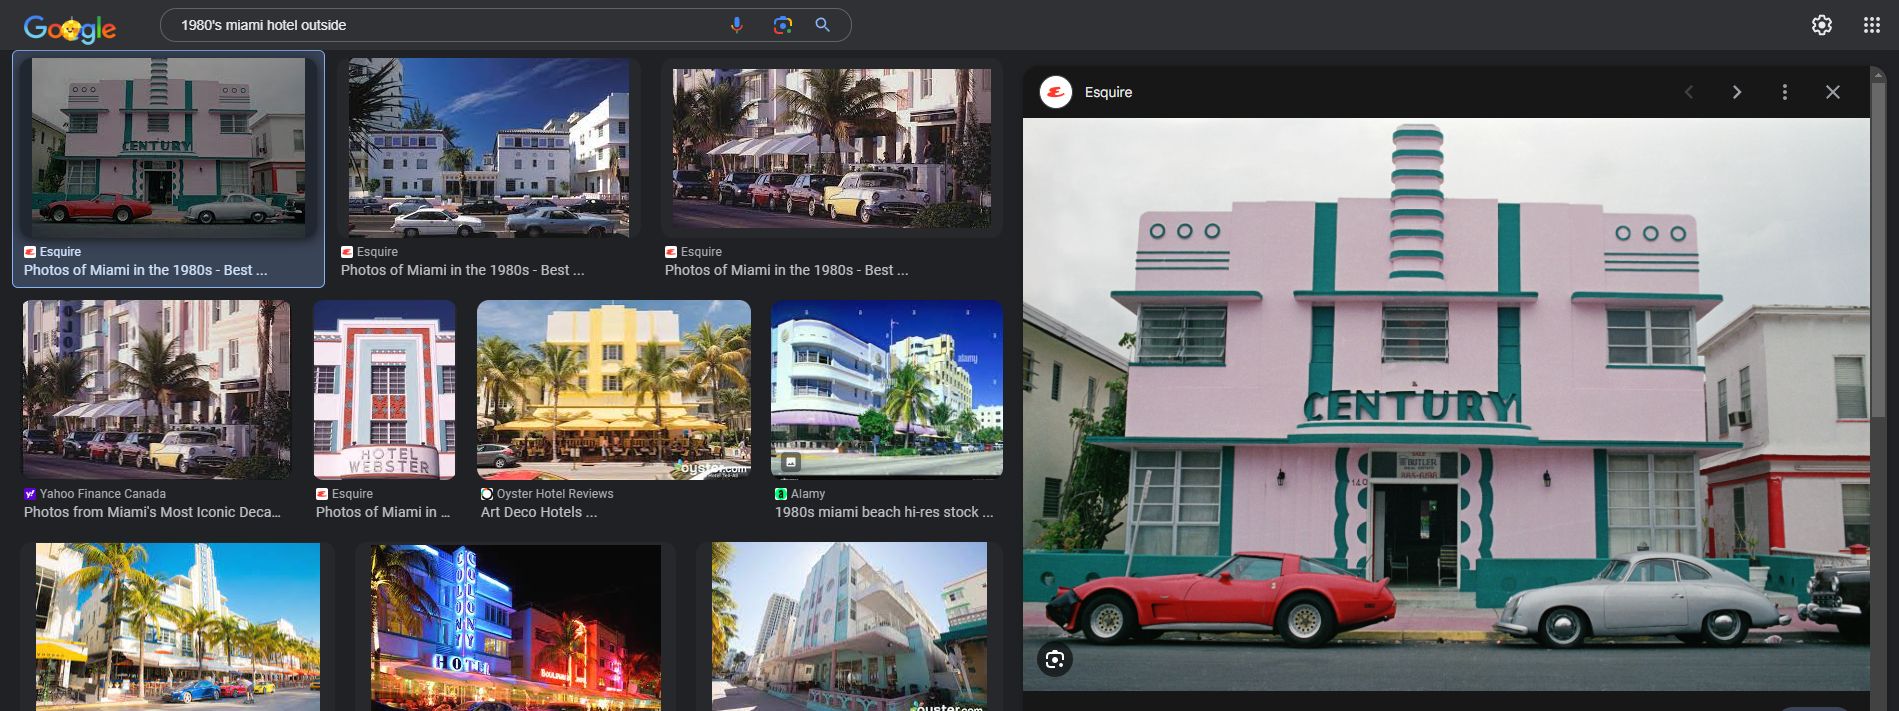 Example of google images used for references
Something like: "Nuclear waste silo" may hold some results, but you'll most likely learn quickly that Google doesn't know if you want interior pictures, pictures from 2002, pictures with a dog in it, or if you want to see European silos or African silos.
A proper search would be: "1980's American Nuclear waste silo interior". This will narrow down the search to what you want to see and will save you from searching through thousands of photos. All because we included just the key words that would help quickly narrow down to what we wanted.
Lighting
Lighting is an important part of a map and is something that you shouldn't do a half-assed job on. While throwing 1 or two light entities in the center of a room can work, It doesn't look very interesting.One quick way to spice up lighting is to use a spotlight entity (light_spot). It can lead to more realistic lighting and can also help guide the player's attention since it only lights up the area in front of it instead of the area around it. It can also quickly change the feeling and vibe of a room and make it more visually distinct. (See below)
 No-effort lighting
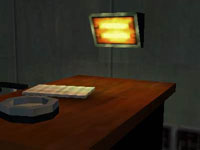 Better lighting
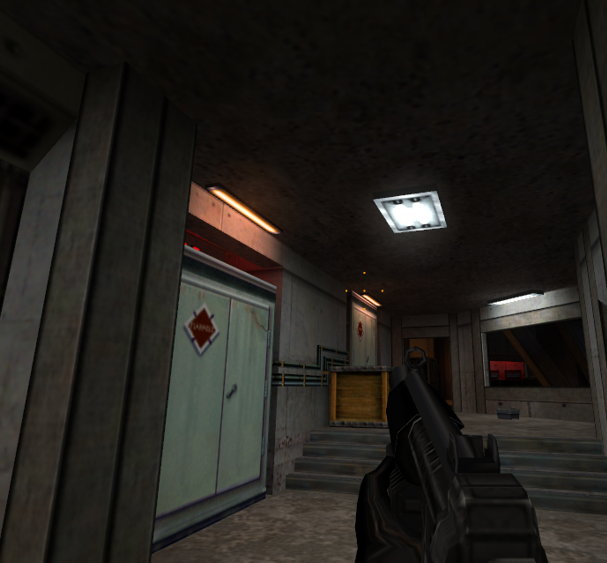 Glow01 was used on Rocket_Frenzy to enhance the look of the lighting

Architectural, ceiling, floor and texture details
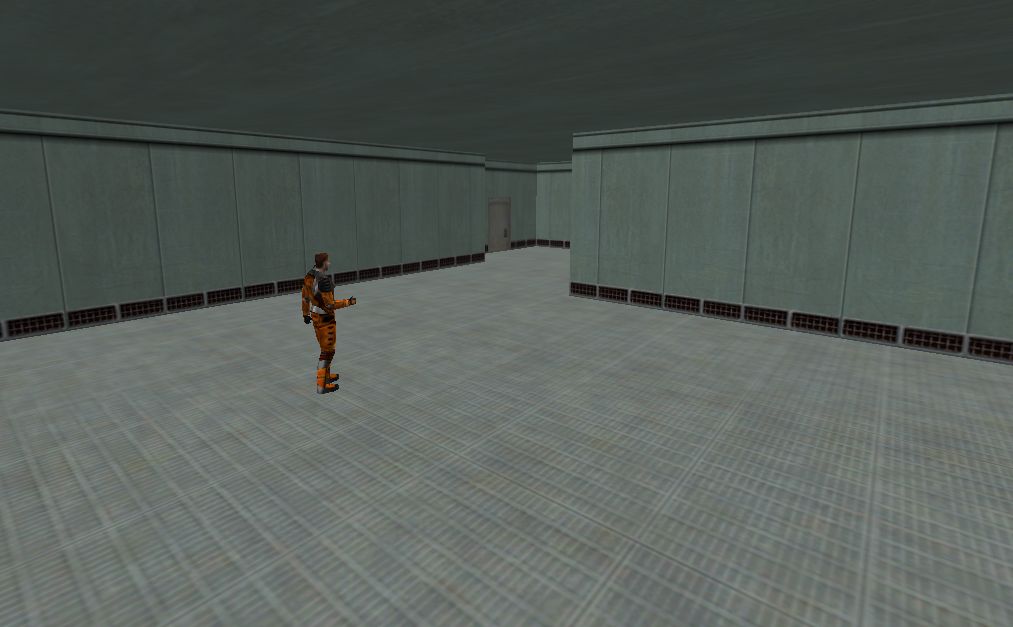
Now you don't always have to add prefabs or small objects to detail your map. A lot of time the map geometry speaks for itself. Look at the multiplayer maps Valve packaged with the Half-Life 1. They had to limit the amount of prefabs and props down to 2 or 3 per map and just had to rely on the geometry of the map to make it look interesting. While there are some tips, always keep in mind that different areas tend to have completely different architecture from others. Nuclear power plants and silos have clean rounded rooms while maintenance areas have straight 90 degree angles and grates everywhere.For the tutorial I have put together this very basic undetailed map to demonstrate.
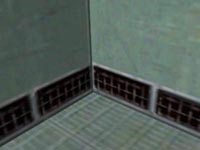 90 degree corners
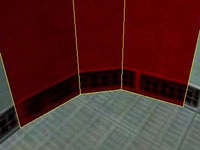 Rounded corners
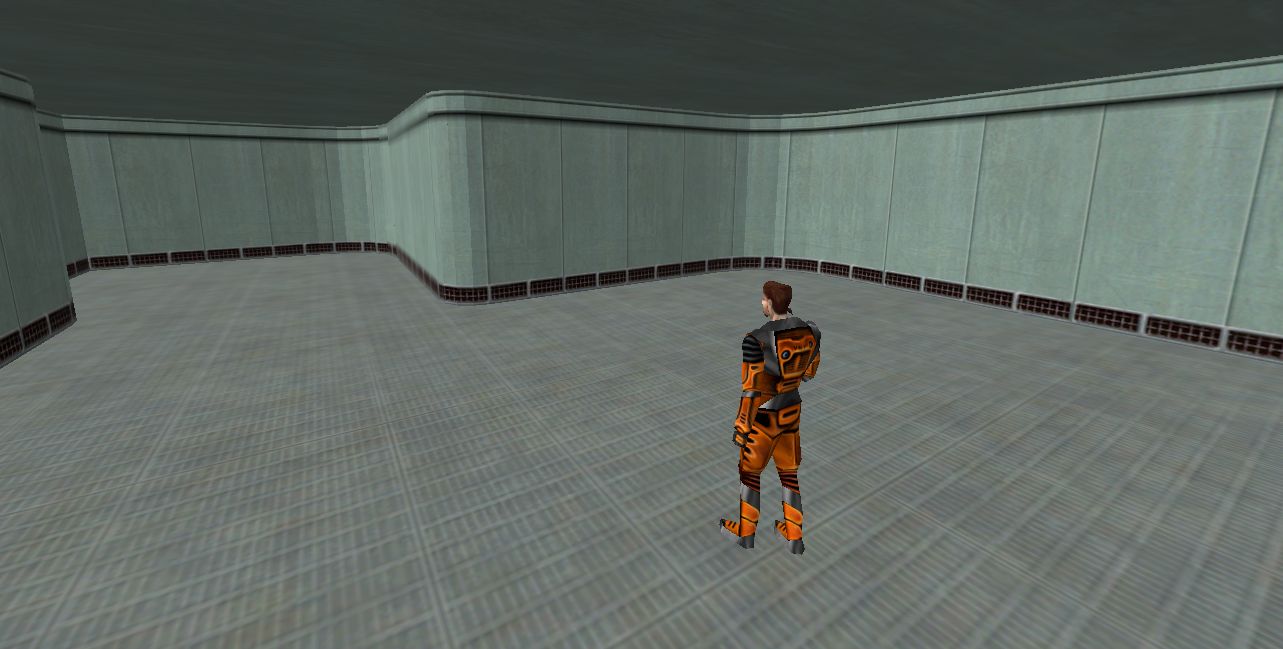 Much smoother edges
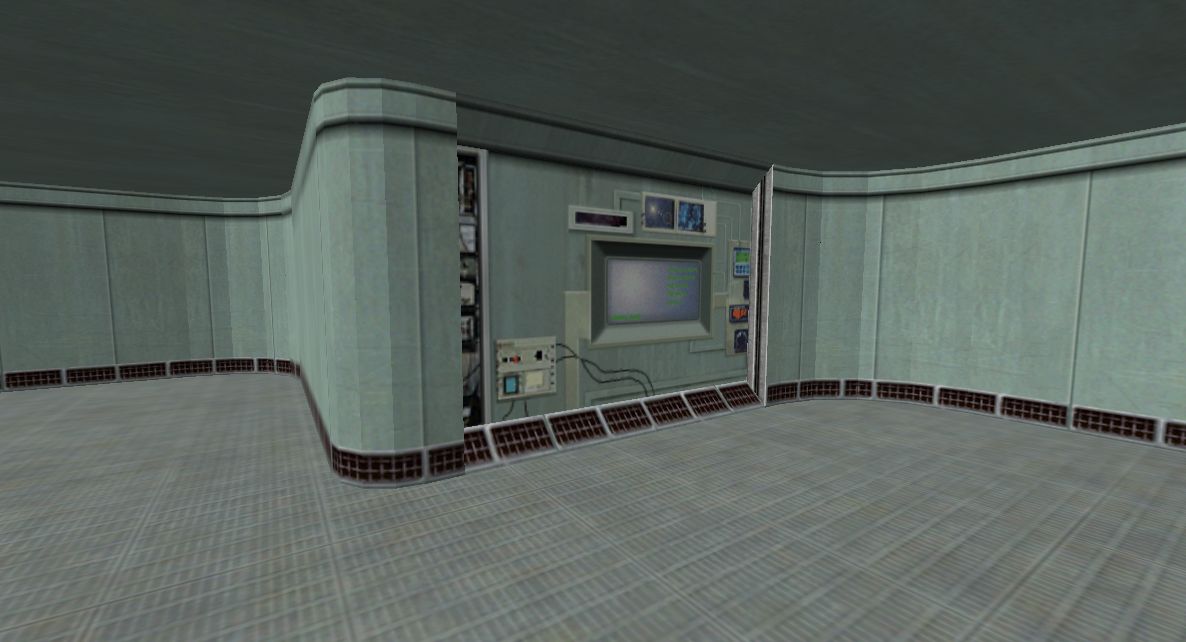 Little wall detail
Like what was said earlier in the lighting section it's best to place a visual light source on the ceiling to show in game where the light comes from. It can also help to add vents and trims to the ceiling as well. And having height variation in a ceiling can also help to make your ceiling feel more unique and not just a single flat brush.
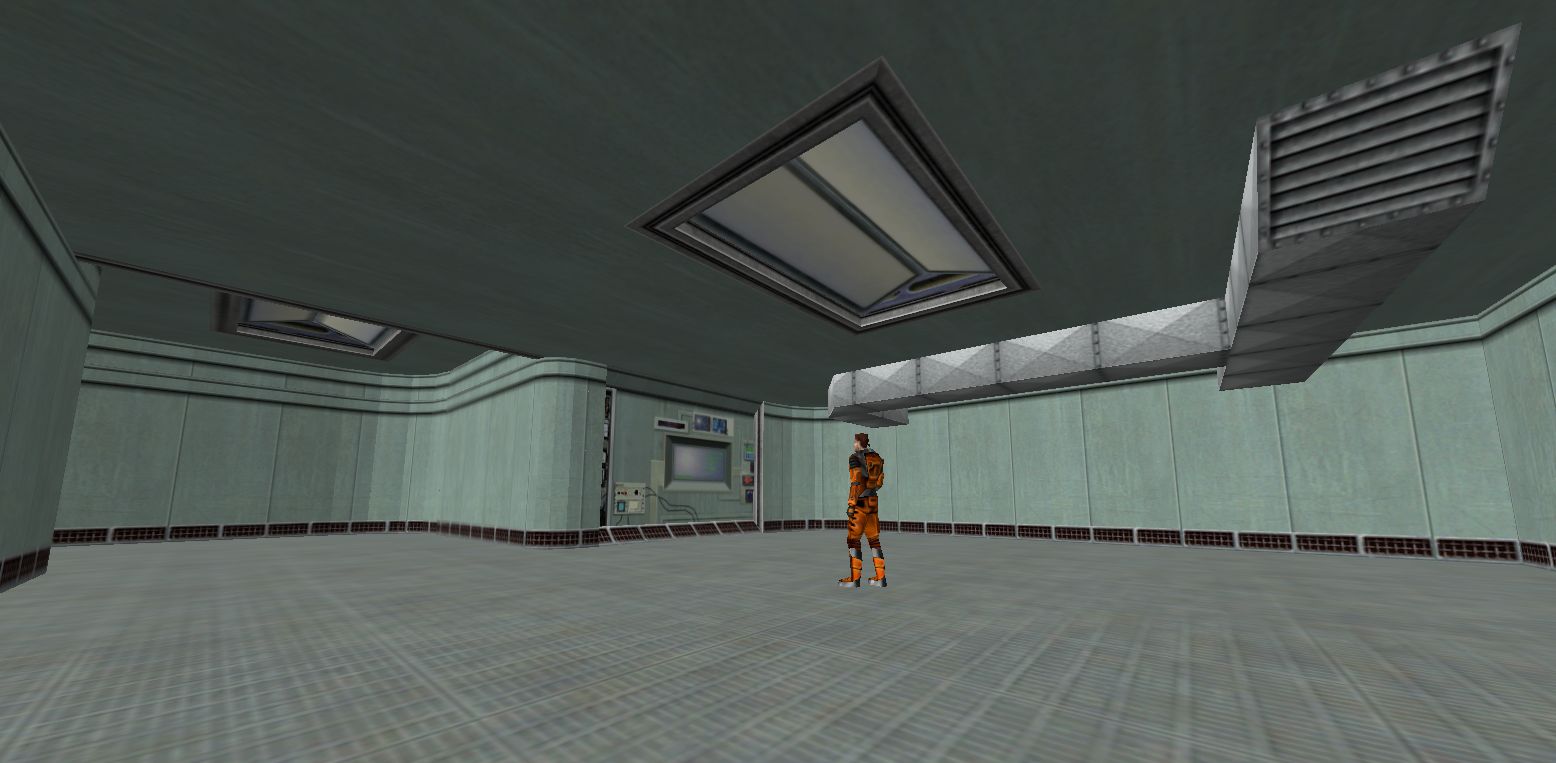 Detailed ceiling
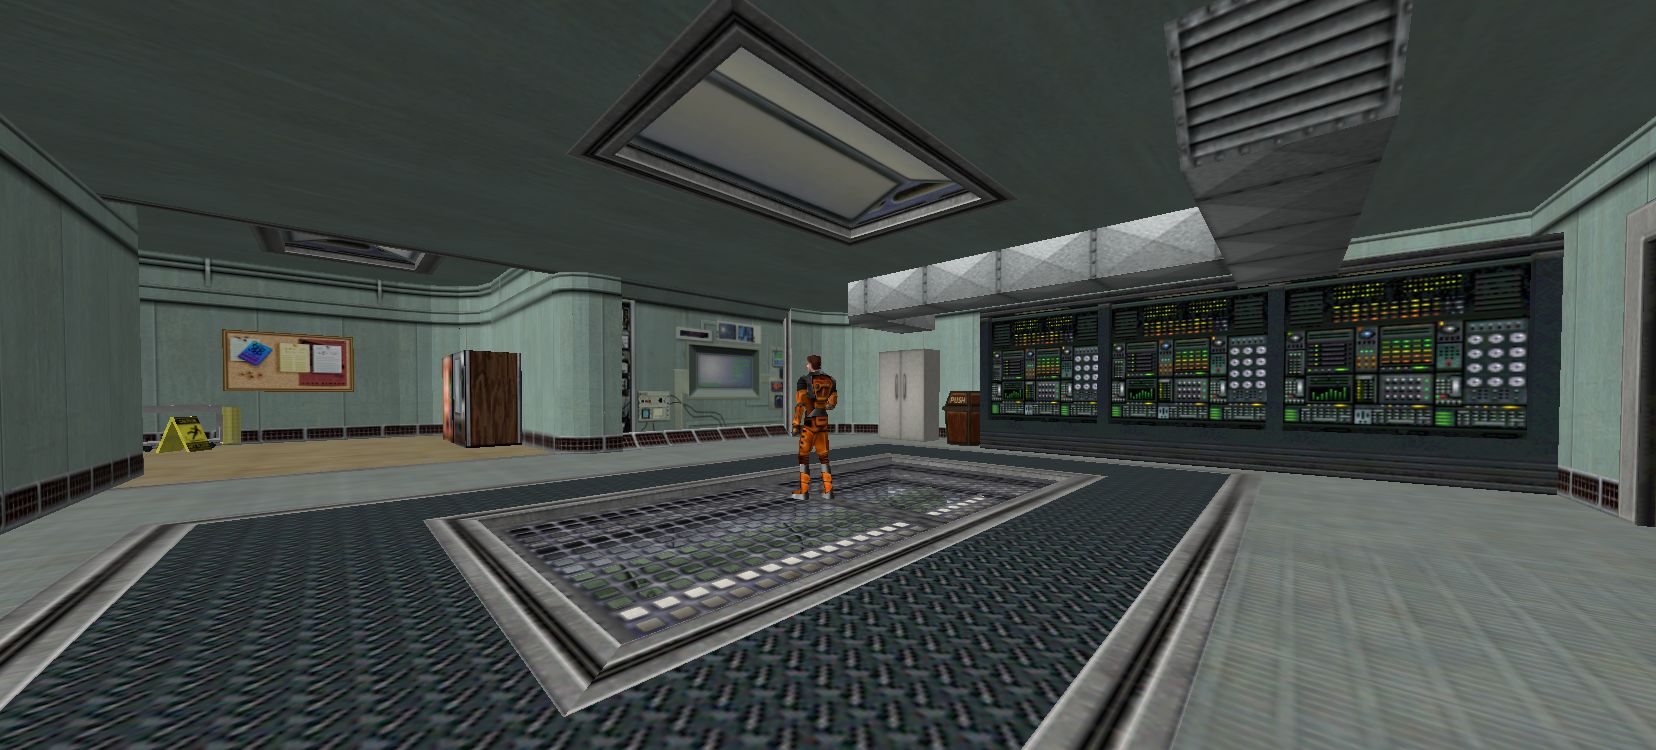 Quickly detailed scene
Ambient sounds
Video games as a medium are based on how they can immerse the players in worlds that the player can explore in a way they can't in other forms of entertainment. And a big part of this immersion is how the environment reacts with realistic sounds that sell this as a real world. The way Goldsrc handles this is through the ambient_generic entity. This entity plays audio (WAV file format) in a certain radius with the sounds sounding like they originate at the ambient_generic entity.Ambient generics in Goldsrc don't measure sound distance like the Source version of the entity does. Goldsrc uses preset distances to measure how far a player can hear an ambient_generic
Preset sound ranges in base Half-Life:
- Small radius - plays within a 256 unit area and fully fades out at around 512 units
- Medium radius - plays within a 512 unit area and fully fades out at around 768 units
- Large radius - plays within a 768 unit are and fully fades out at around 1280 units
- Play everywhere - plays the audio everywhere across the whole map and doesn't fade out at any distance from the ambient generic.
Some tips for when using:
Tip 1: ambient_generics are quite buggy. Ticking Play and No toggle won't always do it. You might have to add a trigger_auto or cover the info_player_start in a trigger_once which activates it.
Tip 2: Making your own ambient sounds isn't as easy as it sounds. Read the tutorial.
Tip:3 Not everything needs to emit sounds. Some levels and mods can benefit from a bit more silence leading players to focus on the sounds already playing from objectives and chatter from enemies such as soldiers. Look at how Valve maps usually reserve ambience for hallways and connectors in-between combat. Limiting the amount of sounds can help players navigate and play your map as well as help free up space on the sound engine which has a limited amount of sounds allowed to be played in a map.
Sparks, sprites and whatnot
Half-Life was revolutionary when it was released because of the highly reactive and realistic environment it managed to pull off. One way Valve managed this was with a series of entities that start with the prefix "env_". Some are purely visual like env_spark which creates a spark and env_shake which applies a shake effect to the players view which can be modified to increase the amplitude of the shake or the duration. But others can affect gameplay such as env_explosion which creates an explosion and env_beam which creates a beam that can be set to travel between 2 spots in the game world and was used for the disaster sequence in the beginning of Half-Life. Env entities can really make your map come alive with how configurable and reactive with how most do something when triggered. Just be careful you don't go overboard and end up going past the entity limit and crashing the game when it tries to run your map.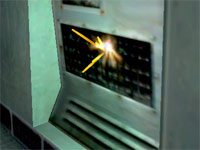 Sparky
Conclusion
These tips should hopefully help you with detailing your map. I'll probably come back and update this tutorial later on to be a bit more in-depth and cover more topics but this should be a good starting point for now. Thanks for reading, and happy mapping!6 Comments

Dimbeak
Commented 14 years ago2010-07-26 21:53:42 UTC
Comment #100734
i have no idea how to make rounded corners, lawl

MNM
Commented 13 years ago2011-04-11 06:16:27 UTC
Comment #100735
Thanks!!!

Spreen
Commented 10 years ago2014-10-18 12:33:17 UTC
Comment #100736
This tutorial would have been a lot better if you taught us how to do sparks, rounded corners, and everything else you said.

Invader4000
Commented 8 years ago2016-08-31 20:55:20 UTC
Comment #100737
You should have taught us how to create sparks, or rounded corners. Nevertheless goot tut.

seedee
Commented 7 years ago2016-12-18 21:17:42 UTC
Comment #100738
Yeah maybe for sparks if you are a newbie to level design, but rounded corners? Really? Just make a brush in the corner of your map and use the clipping tool.

Papa Smokes
Commented 3 years ago2021-07-28 22:03:02 UTC
Comment #103628
I feel there should be more things added like how you can replicate the examples shown, and some more things like floor detailing, and whatever else can be thought up
You must log in to post a comment. You can login or register a new account.