Tutorial: Spiral Staircase Last edited 20 years ago2004-06-18 04:00:00 UTC
You are viewing an older revision of this wiki page. The current revision may be more detailed and up-to-date.
Click here to see the current revision of this page.
Download attachment
If you want you map to have character, normal stairs just don't cut it, so why not build a winding spiral staircase for a change?Sounds difficult but it is quite easy if you know how.
First you need the place where you want your staircase to be. Winding staircases don't just stand somewhere in the middle of a map, so try to find corner or a shaft or something like that.
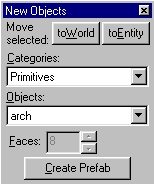
When you have found your location you'll need to create an arch-brush (in the top-view) by selecting the block-tool and then switching to the arch-tool:Your brush should have dimensions of about 128 x 128 x 12 units (Width x Depth x Height). So your character can walk over them without any problems.
If you look at the Dimensions tutorial, you will see that you can not walk over steps greater than 16 units high. That is why I have chosen 12 units.
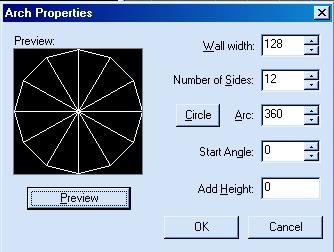
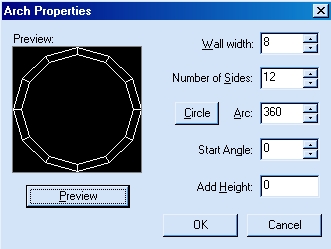
After pressing enter this window should appear:Apply these settings:
Number of sides - stands for your amount of stairs
Wall width - stands for the width of your stairs (surprise

Add height - you can shortcut the scaling/moving of the single stairs: Just add height of 12 (height of the stairs) and your staircase will be complete, but the way described below is much better to get a basic understanding of how it works.
(Note: the more stairs you want, the more narrow they get and the more overall height you can achieve)
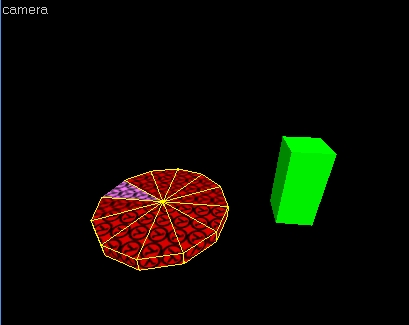
After creating the arch you will have to ungroup it (split all the stairs from one another) by selecting the brush and pressing CTRL+U. It should look like this:Choose your starting brush, then Select the brush next to it by clicking on it. Move this brush so that the bottom of it is inline with the top of your starting brush. Then select the next brush and do the same, keep going till you run out of brushes.
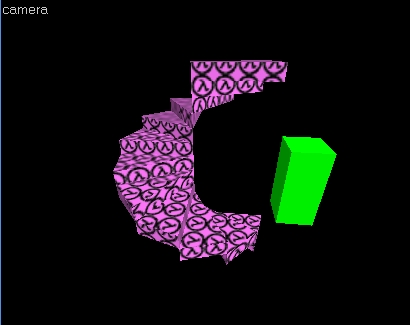
It should now look like this:In my example the staircase has 12 stairs, each with a height of 12 units and a overall height of 144 units (Formula: amount of stairs x height of the stairs = overall height).
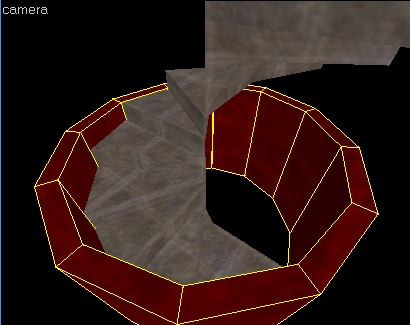
That's about all you need to do for winding stairs, but it is a good idea to enclose the staircase to avoid leaks, and make it look better. To do this you'll have to place a wall around the stairs.
Just create another arch-brush as described above but scale it a little bit bigger: If you want to have a wall width of 8 for example, you'll have to add 16 (2 x 8 on the width and 16 on the depth which makes a brush of 144 x 144 units.
In the appearing arch-properties window just apply this:Now you'll have to increase this new arch in height (should now look like this):And don`t forget the doors

The only thing left to do is place the stair textures:
Browse for some nice texture and apply it to the stairs. When adjusting the textures try this:
Just divide the whole degree of the staircase (360?) by the number of your stairs (12 in our example). That's 30? for our example. That's the number degrees you'll need to rotate the textures (first step: 30?, second: 60? and so on).
Now you have finished your personal winding staircase.
Practice using the Arch Tool, you can achieve more than just staircases.
Comments
You must log in to post a comment. You can login or register a new account.

