Non-coding workarounds for your mod Last edited 1 year ago2023-08-18 21:07:37 UTC
You are viewing an older revision of this wiki page. The current revision may be more detailed and up-to-date.
Click here to see the current revision of this page.
NOTE: This guide is a work in progress, wich means that you might find it very short, lacking of information, poorly done or with terrible spelling. If you have any suggestions, ideas or you know any workarounds, please go to the comments section.
When developing a mod you will often run across the no-coding issue, wich consists in you trying to implement a feature but not being able to do so since you dont know how to code, there are no programmers on your mod team or you just simply don´t want to code. This can be a problem for the development of the mod.
On this tutorial we will review a lot of workarounds that will help to add some features to your mod without coding.
However, the advantage of using these workarounds is that it will make your mod stand out of the crowd, or at least look less plain.
Without further adieu, lets start.
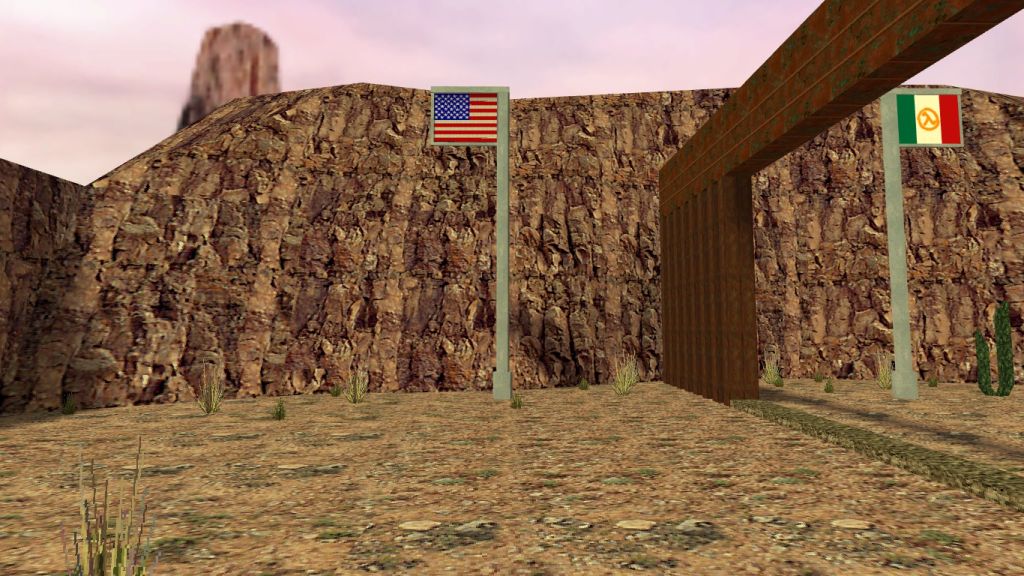
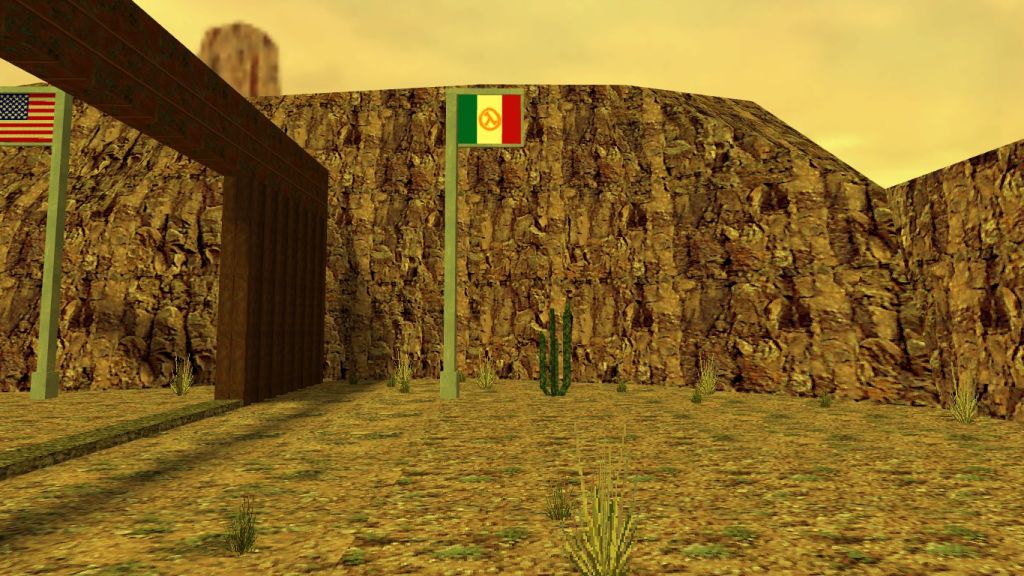
The tint effect is achieved by having an env_fade (screen_tint) repeatedly triggered by a trigger_multiple (mexico) covering the whole area it's supposed to affect.
Both the fade's "Hold Fade" time and the trigger's delay before reset are set to 1 second, so the fade gets retriggered every second while the player stays inside the trigger.
That would be enough for a continuous tint that fades away when the player leaves the area, but if you also want it to fade in smoothly, it'll need a more complex setup - especially if the player can move freely between areas like in this example.
For the smooth transition, I used:
A second env_fade (screen_tint_start) with "Fade From" disabled
A second trigger_multiple (mexico_border) at the threshold between areas with a 0.5 second delay before trigger
Two pairs of trigger_changetarget, named change1 and change2
When the player crosses the border, this is what happens:
The threshold's* trigger_multiple*, mexico_border, targets the pair of trigger_changetarget called change1 after a delay of 0.5s
Meanwhile, the area's trigger_multiple, mexico, targets screen_tint_start, as that is its initial target
The change1 pair activates, making it so mexico now targets screen_tint every second from now on, and mexico_border now targets the change2 pair
If the player walks back through the border, mexico_border will now trigger the change2 pair, which reset both mexico and mexico_border to their initial targets so this whole sequence can be repeated
The map with its respective sorse can be found here.
An example can be found here, by UrbaNebula.
// Barney
sk_barney_health1 "35" // Health on Easy mode
sk_barney_health2 "35" // Health on Normal mode
sk_barney_health3 "35" // Health on Hard mode
You can also change how much points does a battery or a medkit heal, this including pickups and wall chargers.
When developing a mod you will often run across the no-coding issue, wich consists in you trying to implement a feature but not being able to do so since you dont know how to code, there are no programmers on your mod team or you just simply don´t want to code. This can be a problem for the development of the mod.
On this tutorial we will review a lot of workarounds that will help to add some features to your mod without coding.
The main problem of no-coding workarounds
Some of the workarounds presented in here may not be what you want. Besides, this workarounds are very limited. An example would be that you can´t add a new weapon or NPC. These are all based on leftover content and "exploiting" already existent features, so dont get too excited.However, the advantage of using these workarounds is that it will make your mod stand out of the crowd, or at least look less plain.
Without further adieu, lets start.
UI/Menu
Different loading background
Half-Life uses a single background image both for the menu and when the game is loading. However, you can add different backgrounds for the loading screen and menu. This can be achieved by modifying the file "YourMod/resource/BackgroundLoadingLayout.txt", and adding your new background files. A recommended way to organize the backgrounds is putting the files in different folders, rather than putting everything in the "background" folder:Music in the main menu
This one is pretty popular. Adding a music file named "gamestartup.mp3" to the folder "YourMod/media" adds music to the main menu. However, the music plays in a loop and does not play again when the player leaves the game or disconnects from a server.Mapping/Level editing
Dynamic Lights
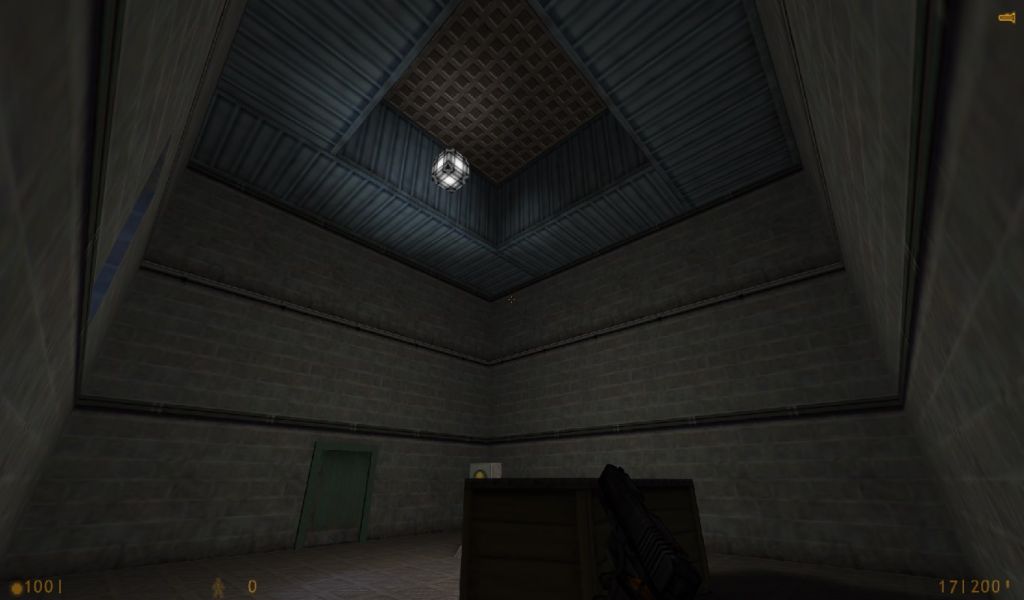
This one was found in a russian server by the user Windawz. If you add the parameter "effects" to a brush or point-based entity with the value of 8 or 4, it will emit dynamic light. An example can be found here.Screen tint
This one was created by the user Mota. The original map presents a México-yellowish tint, but you can change this to other colors to fit your needs. Warning: Copypasted text up ahead!The tint effect is achieved by having an env_fade (screen_tint) repeatedly triggered by a trigger_multiple (mexico) covering the whole area it's supposed to affect.
Both the fade's "Hold Fade" time and the trigger's delay before reset are set to 1 second, so the fade gets retriggered every second while the player stays inside the trigger.
That would be enough for a continuous tint that fades away when the player leaves the area, but if you also want it to fade in smoothly, it'll need a more complex setup - especially if the player can move freely between areas like in this example.
For the smooth transition, I used:
A second env_fade (screen_tint_start) with "Fade From" disabled
A second trigger_multiple (mexico_border) at the threshold between areas with a 0.5 second delay before trigger
Two pairs of trigger_changetarget, named change1 and change2
When the player crosses the border, this is what happens:
The threshold's* trigger_multiple*, mexico_border, targets the pair of trigger_changetarget called change1 after a delay of 0.5s
Meanwhile, the area's trigger_multiple, mexico, targets screen_tint_start, as that is its initial target
The change1 pair activates, making it so mexico now targets screen_tint every second from now on, and mexico_border now targets the change2 pair
If the player walks back through the border, mexico_border will now trigger the change2 pair, which reset both mexico and mexico_border to their initial targets so this whole sequence can be repeated
The map with its respective sorse can be found here.
Models
Different models for a single entity
You can make variations of pickups, monsters, etc. by adding a bodygroup to the model and adding the "body" property in a map editor: You can also add "limitless" body/skingroups to entities that already use them like HECU grunts or scientists. I wrote "limitless" because there is still a limit on every model. Acording to The303.org, the limits are:- 32 submodels
- 32 skingroups
- Holstered gun
- Unholstered gun (in-hand)
- No gun
An example can be found here, by UrbaNebula.
Misc
Damage and HP
This is not a workaround but im still adding it here since a lot of people dont know this. By editing the YourMod/skill.cfg file, you can change a weapon´s damage points or an NPC´s health value. Example:// Barney
sk_barney_health1 "35" // Health on Easy mode
sk_barney_health2 "35" // Health on Normal mode
sk_barney_health3 "35" // Health on Hard mode
You can also change how much points does a battery or a medkit heal, this including pickups and wall chargers.
6 Comments
You must log in to post a comment. You can login or register a new account.


monster_*entities.func_*entities include the effects key by default.When I once used the func_conveyor entity in ka_airtrain, it also compiled with a light effect in the map, even though I didn't do anything unconventional with it.
It's hard to say because this entity was deleted by me a long time ago.