Vlatitude: HL2 - Simple lights Last edited 2 years ago2022-09-29 07:56:13 UTC
This tutorial looks at simple light entitles for Half-Life 2, and assumes that you know some of the basics of Hammer. To get the most out of this tutorial, you should know how to:
- Create brushes
- Insert entities
- Modify entities
The simplest way to do this is to create a brush and give it a light texture, then a light entity in front of it, but in this tutorial we will use a model to take full advantage of the detail offered by the Half-Life 2 engine.
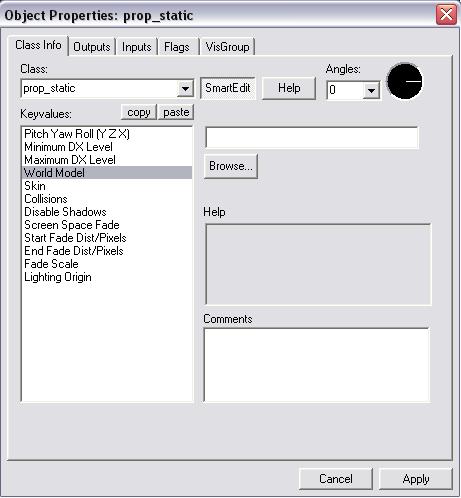
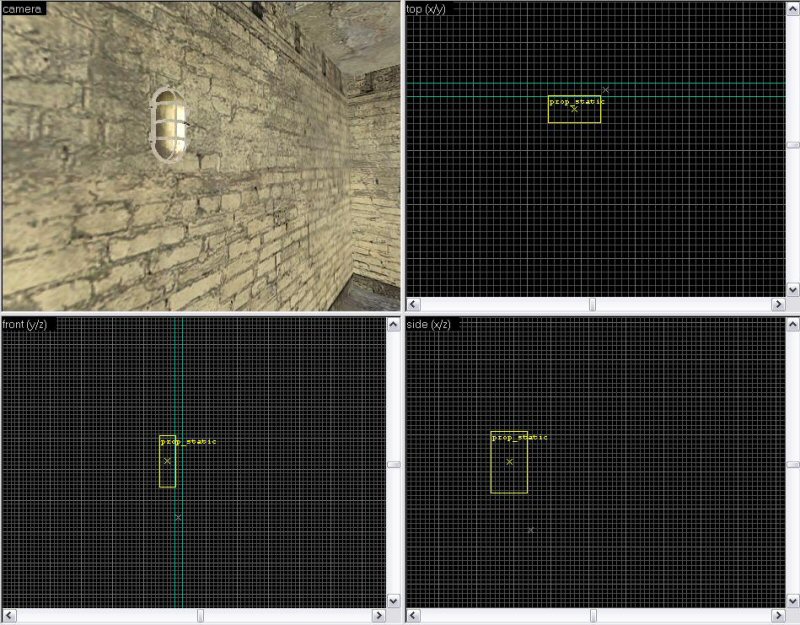
First, insert the prop_static entity. As the light fixture won't be affected by any of the game's physics, you don't need to make it a prop_physics or anything more complicated.
Once you've got your prop_static, go into its properties and select 'World Model'
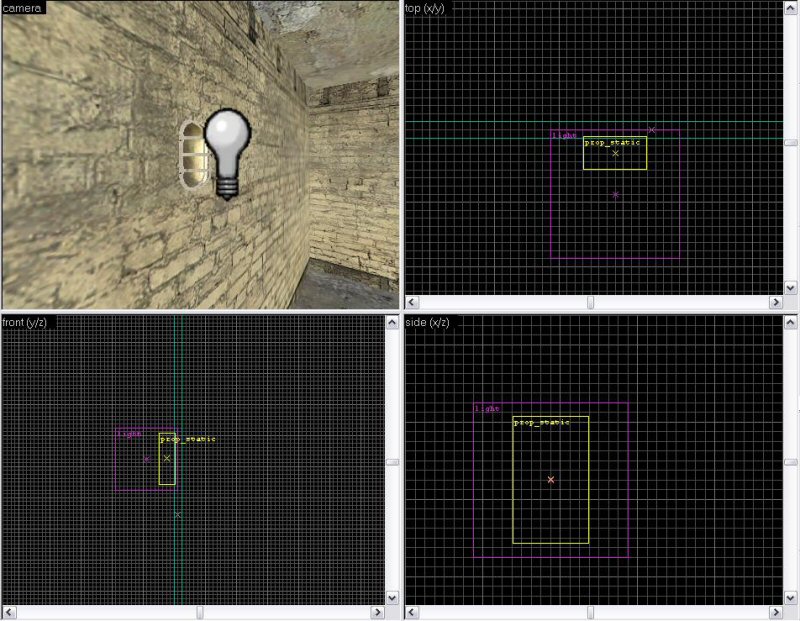
Now for the light source itself. Unfortunately, as good as the fixture looks, it won't actually emit any light. This is where the light entity comes in handy.
Inserted from the entity list, this basic light emitting entity works the same way as it did in hl1. Insert the light and position it very close to your light fixture model, like in the picture below. The default settings are a very bright, white light. You can change the brightness and colour to create different moods. To do this, select the brightness setting. The numbers displayed in the box should look like this: 255 255 255 200. The first 3 numbers are the colour in Red, Blue and Green, and the last number is the brightness. For this tutorial I've left the colour as white but changed the brightness back to 80.
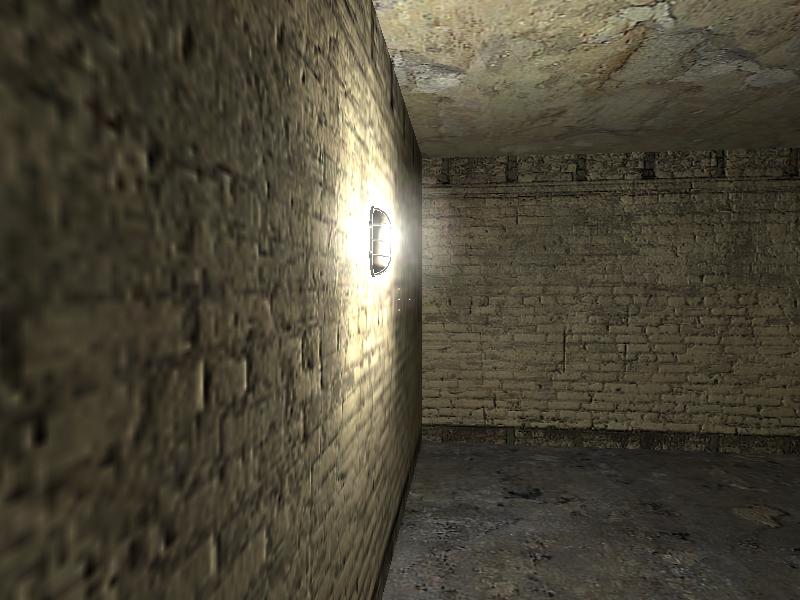
Apply the settings and compile again. You should now have something that looks like this:
- Article Credits
- Rancor – Author
This article was originally published on 69th Vlatitude.
The original URL of the article was http://www.vlatitude.com/tutorials.php?tutID=62.
The archived page is available here.
TWHL only publishes archived articles from defunct websites, or with permission.
For more information on TWHL's archiving efforts, please visit the
TWHL Archiving Project page.
Comments
You must log in to post a comment. You can login or register a new account.