Vlatitude Archive: Modeling for Half-Life - Part 2 Last edited 5 years ago2019-04-25 08:48:36 UTC
You are viewing an older revision of this wiki page. The current revision may be more detailed and up-to-date.
Click here to see the current revision of this page.
Welcome to Part 2 of my Modelling Tutorials Series, in Milkshape for Half-Life. In this tutorial, we will be going through the second main tab of the Milkshape interface, called Groups. For the tutorial you'll need Milkshape 3d, a 30-day trial version is available for download HERE.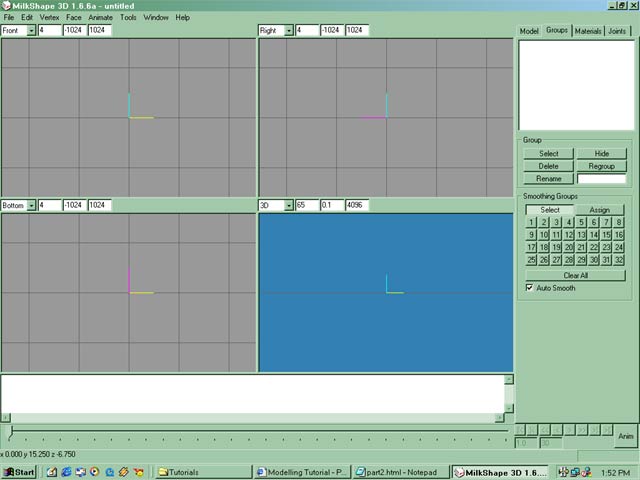 There you can see the main window of Milkshape, with the Groups tab selected. That tab and its functions is what I'll be going through. First off, I'll explain some of the key words. A Group, is a group of faces or polygons, that are grouped so that you can manage your model more easily.
The first thing I want you to do, is create a two boxes and a cylinder. Doesnt matter where, or what properties of the cylinder or boxes. Just make em. Good, now if you have the Groups tab opened, you should see something like this: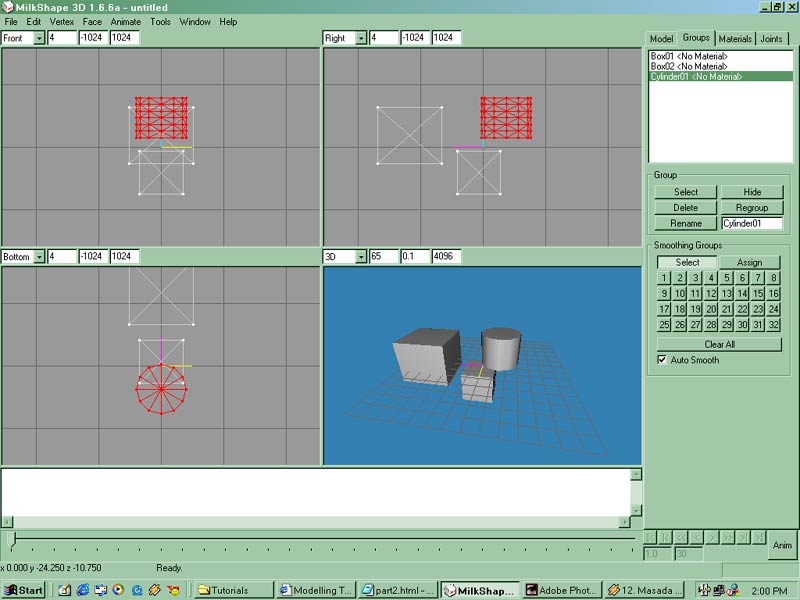 I'll now go through each of the tools. To use each tool, first you have to select which group you want to perform the funciton on. So go ahead and click on Box01. So, the first tool is Select. Click on that. Box01 is selected! If you click Select again, it will be unselected. If you click on say, Box02, then click Select, that will be selected aswell. Go into Edit -> Select None. Now first click Cylinder01, then click Hide. Wallah! Cylinder01 is gone!! If you click Hide again, it will unhide. Alternatively, if you have a few groups Hidden, Go into Edit -> Unhide All. Everything should be shown again.
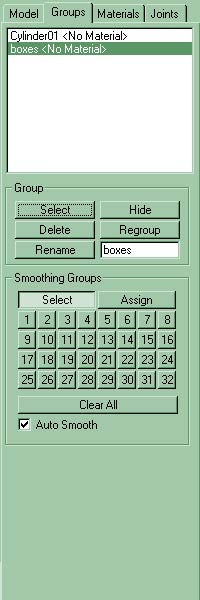
Delete Tool is fairly self-explanatory. Click on Box01, then Click Delete. Deleted. If you want to get it back, you will have to undo - Edit -> Undo (Ctrl + Z). Regroup is very handy. Any faces you have selected when you click regroup, will be grouped into one group called Regroup01 or other number. Go ahead and Select Box01, then Box02. Now Click Regroup. You should now have Cylinder01 and Regroup01 as groups. Try selecting Regroup01. Both boxes are selected!
The last tool is also very useful. Rename is used to, (yep you guessed it) rename groups. This is very useful when creating complex models. For example, you may be working on a weapon model. If you have the trigger solids grouped, you could rename it to "trigger". So, click on Regroup01, then type the new name in the textbox. Call it "boxes". Click rename. Now its renamed! Simple as that. You shouldn't use spaces in the names or dashes (They make the name harder to read ).
). This is what you should have so far. I will now go through the final tools in the Groups Tab. It works slightly the same to the first Group section. Basically, when you click Assign, then a number, the selected faces at that point will be grouped into the number you clicked. So, select "boxes" group, then click Assign, 13. If you had "Auto Smooth" checked, you will notice the boxes have a weird light source gradient on them. Don't worry, your final model won't be affected by this at all. This is used when you select all the faces of the model to make it look even.
Now, click Select (the bottom one in the groups tab) then click 13. Hey presto! The boxes are selected. Clicking "Clear All" will smooth every face.
That's it! Now you should be able to keep your models cleaner and more manageable. As always, feel free to direct any queries to mwa.
The first thing I want you to do, is create a two boxes and a cylinder. Doesnt matter where, or what properties of the cylinder or boxes. Just make em. Good, now if you have the Groups tab opened, you should see something like this:
Delete Tool is fairly self-explanatory. Click on Box01, then Click Delete. Deleted. If you want to get it back, you will have to undo - Edit -> Undo (Ctrl + Z). Regroup is very handy. Any faces you have selected when you click regroup, will be grouped into one group called Regroup01 or other number. Go ahead and Select Box01, then Box02. Now Click Regroup. You should now have Cylinder01 and Regroup01 as groups. Try selecting Regroup01. Both boxes are selected!
The last tool is also very useful. Rename is used to, (yep you guessed it) rename groups. This is very useful when creating complex models. For example, you may be working on a weapon model. If you have the trigger solids grouped, you could rename it to "trigger". So, click on Regroup01, then type the new name in the textbox. Call it "boxes". Click rename. Now its renamed! Simple as that. You shouldn't use spaces in the names or dashes (They make the name harder to read
).Now, click Select (the bottom one in the groups tab) then click 13. Hey presto! The boxes are selected. Clicking "Clear All" will smooth every face.
That's it! Now you should be able to keep your models cleaner and more manageable. As always, feel free to direct any queries to mwa.
- Categories
- Archived Articles
- Vlatitude Archive
- Tutorials
- Mapping
Comments
You must log in to post a comment. You can login or register a new account.