VERC: Bump Mapping in Half-Life Last edited 6 months ago2024-09-10 18:09:18 UTC
Bump mapping is quickly becoming the "big thing" that every new game must have. It adds detail where there was none before, and provides a much enhanced visual experience. Games are almost relying on it to give their visual intensity; a good example of this is Doom 3.
In this article, I will explain how it can be done in Half-Life, and I also provide the source code necessary to do so. In addition, a utility application (and source) to generate a normal map from a height map is provided, to enable you to quickly and easily create your own normal maps. Note that I will not be writing this as a code walk-through, simply because there's far too much code for one article; rather, I will simply explain the algorithms used to implement the effect without needing access to HL's rendering code. Be warned: this article may become fairly technical at points, so feel free to skip those sections if you wish.
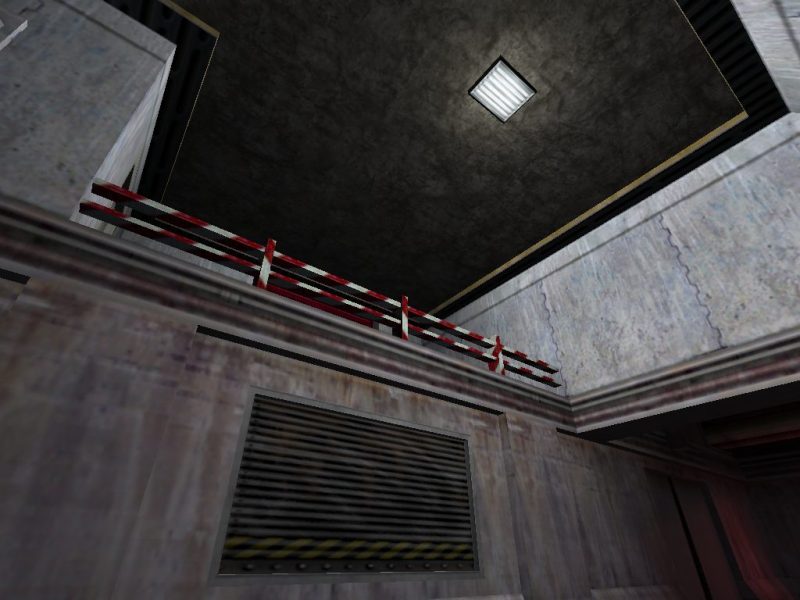
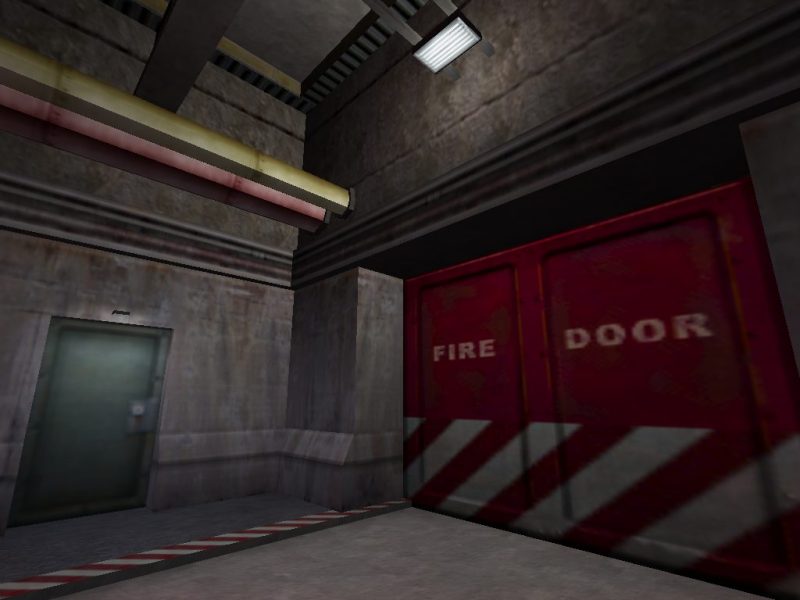
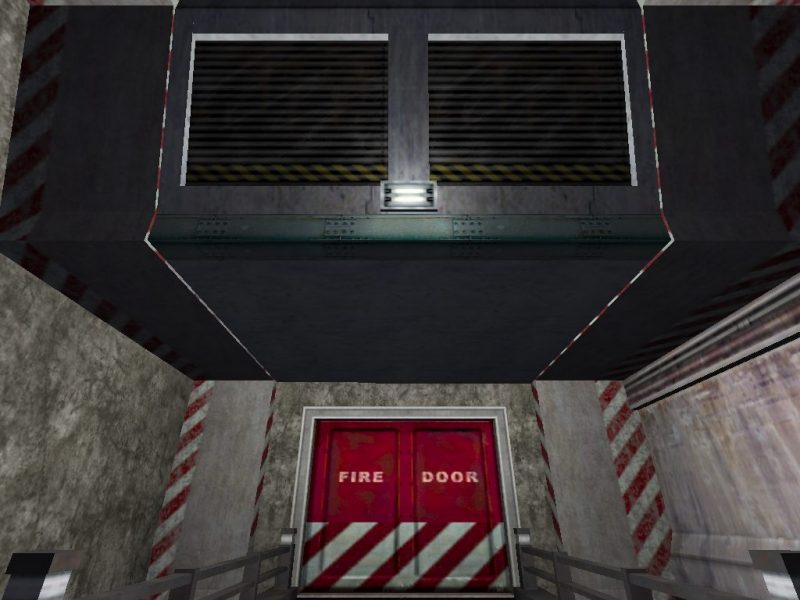
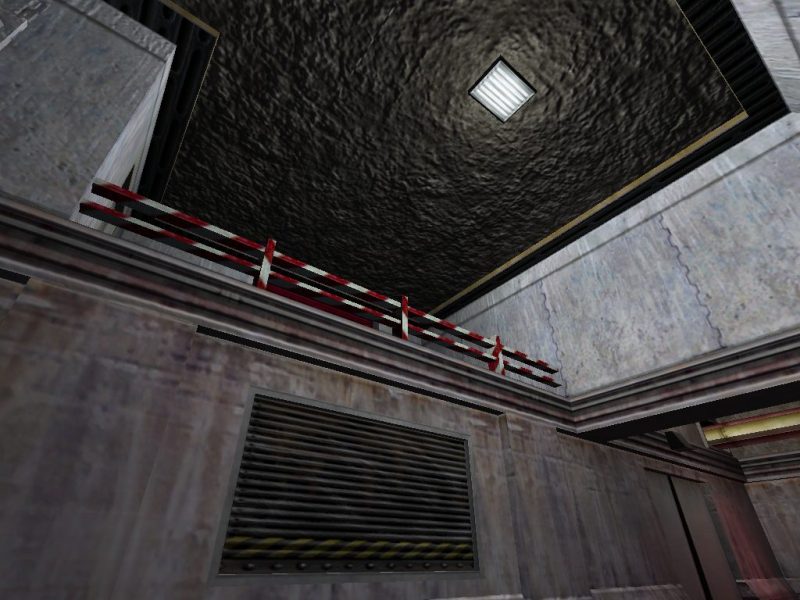
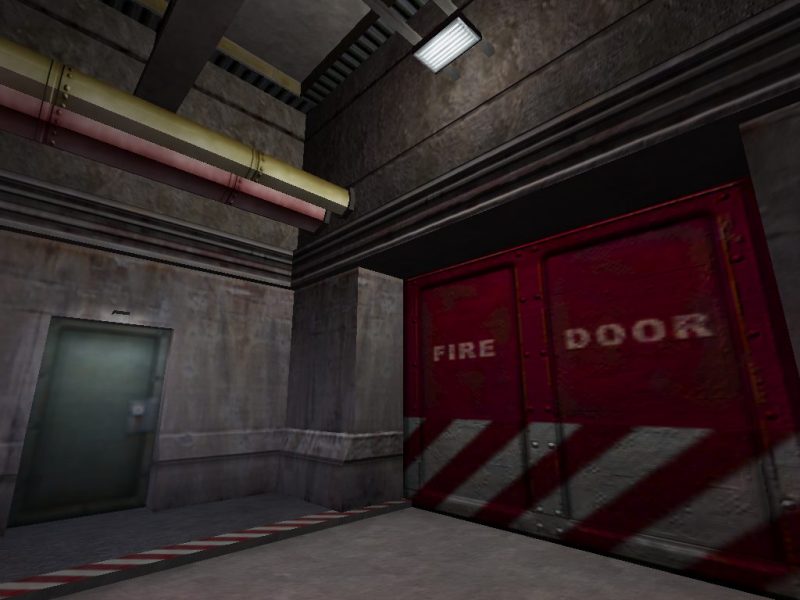
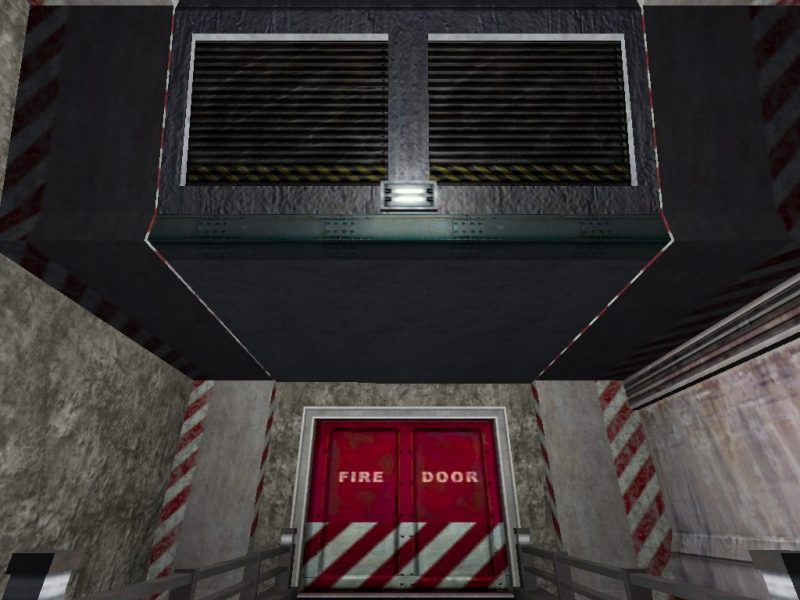
Before we continue, here's an example of the bump mapping in action, in the sample map (created by Gonnas) provided with the mod. On the left are shots with simple per-pixel lighting but no bump maps, and on the right are shots with the bump maps taken into account:
The Algorithm
The biggest problem with implementing per-pixel lights in HL is that they must be combined with the existing lightmap. We cannot just multiply the scene by each light, or add it into the scene, however. This is the equation for lighting a point:(Light1 + Light2 + ... + Lightn + Lightmap) * Diffuse
This equation can expand out to:
Light1 * Diffuse + Light2 * Diffuse + ... + Lightn * Diffuse + Lightmap * Diffuse
We now have two equations to choose from. If we go with the former, then we'll have to deal with the issue of separating the lightmap from the map's textures; if we go with the latter, then we lose a texture unit in each pass, but avoid having to do two rendering passes to get the lightmap and textures separately. For this implementation, I went with the former, simply because I feel that losing a texture unit is more of a burden than one single extra pass - if we were to use the latter, then if specular lighting was to be added to the bump mapping presented here, a second pass would be needed for each light on hardware with 4 texture units.
So, the next issue is how to go about getting the lightmap and the textures for the map rendered separately. This is where fragment programs step in. The first stages in doing the bump mapping are as follows:
- Enable a fragment program (fp_diffuse.cg) which only renders the texture, not the lightmap, and render the map using HL's renderer.
- Enable a fragment program (fp_lightmaps.cg) which only renders the lightmap, not the textures, and render the map using HL's renderer.
If we just use the two aforementioned fragment programs to do all of the rendering, then we run into trouble with models. Since they don't have a lightmap, they are being multiplied by whatever garbage is left in the 2nd texture unit, which is not what we want. So, two more fragment programs must be created, fp_model_p0.cg and fp_model_p1.cg, which are enabled and disabled whenever the client DLL's studio model renderer is called upon to render a model. The former renders the model with just its texture, and the latter renders the model with just the diffuse colour supplied to OpenGL, which is the equivalent of the lightmap for models.
The next step is the most important one, and that is to render the map once for each light, calculating the bump mapping contribution for each source and adding them together as we go. To do this, the polygonal data of the current map must be rendered from within the client DLL. We can do this by using customised versions of the model structures in COM_model.h, which provide us with the OpenGL polygon data that we need to quickly and easily render the world's polygons. Visibility culling is done using the data calculated by the engine - see the source code for how this is actually employed. Once all the lights have been added together, the result is saved to another rectangle texture.
One thing to note here is that entities (both models and brush entities) are NOT rendered by this process. The data is there, but it is not transformed if the entity has moved, so entities like a door will leave a ghostly version of themselves in place when they move. Instead, I opted to simply leave them out and have them lit by the lightmap only. This is achieved by using the existing Z-buffer data from previous renderings of the map to create "holes" into which the entity will fit perfectly and have no bump mapping applied. To do this, the clear colour is set to black and Z-writes are disabled, using the existing Z-buffer to do all depth tests.
Unfortunately, if we want to use the existing Z-buffer data, then we can't render the map after the second pass, since it gets erased by the engine - instead, we must render it after the first pass, and before the second pass. While this is messy, it's absolutely vital; the Z-buffer data is needed to stop entities becoming ghostly apparitions - Casper the Friendly Func_Wall is not what we want!
The order of operations is now, therefore, as follows:
- Enable a fragment program (fp_diffuse.cg) which only renders the texture, not the lightmap, and render the map using HL's renderer.
- Enable a fragment program (fp_bump.cg) which does the bump mapping. For each light, custom-render the map, adding as we go, and store the end result in a texture.
- Enable a fragment program (fp_lightmaps.cg) which only renders the lightmap, not the textures, and render the map using HL's renderer.
Usage
Using the supplied bump mapping modification is actually quite simple. If you wish to make a map that has a bump mapping light in it, then add the bumpmap.fgd file to your list of FGDs (don't replace the Half-Life one - it only contains the light_bump entity). Add a light_bump entity to your map, fiddle with its parameters, and that's all there is to it. Compile the map and run it in the mod, and you should see per-pixel lighting from that light. The parameters are:- Radius - How big the sphere of influence of the light is, in units.
- Strength - How bright the light is. Values greater than 1 will not work on GeForce 3 and 4 hardware, in that they appear the same as a value of 1.
- Light colour - The colour of the light, in R G B format.
- Appearance - Exactly the same as a normal light. Specifies how the strength should be modulated over time.
- Move with - The targetname of an entity with which it should move. The light will stay in the same position relative to the entity.
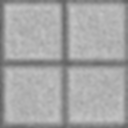
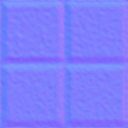
TEXTURENAME normal_map_file_name.bmpMaking a normal map for a texture is fairly simple. The first stage is to make a heightmap for the texture - a greyscale representation of the height of each point on the texture, where white is the highest and black is the lowest. Save this as a BMP file. Then, run it through the supplied "hmap2nmap" application, like so:
hmap2nmap.exe input_file.bmp bumpstrength output_file.bmpinput_file.bmp" is the heightmap, "output_file.bmp" is the name of the BMP it should generate, and "bumpstrength" is how strong it should make the bumps (16 is a good value, I've found, but it depends on how varied your heightmap is).
Hardware Requirements
There are two major things that limit the hardware that can be used with this bump mapping code; texture units, and fragment programs. We need three texture units for the bump mapping, which are provided on nearly all semi-recent hardware. So, the more limiting factor is the usage of fragment programs.To program the fragment programs, Cg is being used. Cg will build a fragment program for specific OpenGL extensions, depending on which ones are available. Under nVidia hardware, the programs have been written to be compatible with a minimum of NV20 hardware, which means that the GL_NV_texture_shader and GL_NV_register_combiners extensions must be available. Cg can happily build the supplied programs to run under these two extensions, and so the minimum nVidia hardware requirement is a GeForce 3. However, ATi hardware poses a problem.
Since Cg is made by nVidia, it does not have any build paths for ATi proprietary extensions. This means that programs using GL_ATI_fragment_shader cannot be built from Cg, meaning that ATi hardware must have GL_ARB_fragment_program to run the fragment programs. This means that the Radeon requirement is much higher, needing a Radeon 9500. I do not have a Radeon, so I cannot write a program for the GL_ATI_fragment_shader extension to lower this requirement.
Problems/Issues/Caveats/Gotchas
Firstly, as mentioned above, anything that isn't a world brush will not have bump mapping applied. There is probably a way to get this working for brush entities, but the only way I can think of would involve a horribly hacky method which is likely to be rather unstable. If someone can prove me wrong, I'd be delighted.Secondly, transparent objects (models or brush entities) do not work properly. The only kind of transparency that will appear correctly is the colour-keyed pure blue "holes" kind. Other types of transparency will not be rendered correctly - even additive sprites, which means that muzzle flashes on weapons do not appear correctly either.
Thirdly, you cannot use a large number of lights. This is true of all games that use bump mapping, so it is not a problem with this implementation. It is unwise to use more than three or four bump mapping lights in one map if you are aiming for playability on a GeForce 4.
The Files
For those of you who just want to run this yourself, a completely pre-prepared mod is supplied, including all the necessary Cg DLLs. Download and extract it to your Half-Life directory, then run the mod and open up "bumpmap1.bsp".For those of you interested in making your own maps for the mod, the FGD file with the light entity is included in the mod files (in the mod's main directory). If you also want to make your own normal maps, then you need to generate normal maps from heightmaps.
For those of you interested in the code behind it, the source code is provided in (along with the source for hmap2nmap).
The .cg shaders mentioned in this article are available in .
The Source Code
Before you even think about compiling this yourself, you need to make sure you have the Cg Toolkit, version 1.2.1, and have configured your compiler so that it looks in the relevant directories within your installation for includes and library files. In addition to the Cg includes and libraries, it also provides a fairly recent version of glext.h, which contains definitions of the various constants and function pointers for OpenGL extensions. Without these, you don't have a hope in hell of compiling this.As mentioned before, I have provided complete source code for the bump mapping. The core of the technology is all housed in one class,
CBumpmapMgr, which contains all of the code necessary to do the bump mapping in the client DLL, including loading the text file specifying normal maps. A few lines of code need to be added elsewhere to make it work, and these can be found by searching for comments of "// FGW".The code necessary to allow lights to be placed in Hammer as entities is, obviously, mostly in the server DLL. As it stands, it will only work in single player, since I have only placed code in the single-player game rules, and I am relying on the fact that a player only spawns once per map load in single-player. I'm sure that with a small bit of trickery it can be made to work in multi-player, but I've left that as an exercise for the reader. To make this entity work, some more code has been added in the client DLL (a server to client message, again marked by the comment "
// FGW").One other thing of note is the modified COM_model.h file. Additions have been made to it to gain access to the polygon data used in the engine in hardware mode (credit is due to Sneaky_Bastard for originally discovering this, I believe). This file is a replacement for the original one. All changes are surrounded by
#ifdefs for "HARDWARE_MODE" should you wish to revert it to the original format (comment out the definition of this at the beginning of the file).The only files supplied in the source code are those that are new or have changed from the original SDK (version 2.3), so if you are putting this into your own mod you will need to do a comparison of the files that would be overwritten using an application such as WinDiff (which comes with Visual C++).
There are a number of libraries that you will have to link with in the client DLL to compile this yourself. They are:
- cg.lib - Gives the core Cg functions
- cgGL.lib - Gives the OpenGL-specific Cg functions
- opengl32.lib - Core OpenGL library
- glu32.lib - GL utility library, used for generating mipmaps of normal maps
- glaux.lib - GL auxiliary library, used for loading bitmap files (although you may wish to re-write parts of the code so that they don't use this, or use a library such as DevIL instead)
Suggestions for New Features
Whilst making this, I had a number of thoughts for new features or improvements to the way things are done. However, I didn't have time to implement them, so I leave them as things that others can do if they feel that it'd be interesting:- Specular lighting - I left this one out simply because specular lighting has never been well-received from the gamers I've spoken to, always saying that it makes everything look very "plastic". However, if you wish to implement this, then it's fairly simple - simply bind the normalisation cube map to the 4th texture unit and put the half vector as the texture coordinates in the 4th unit, as per the light vector. An approximation for a specular exponent of 16 can be found here.
- Cube map filter - Lights don't have to be simple point lights. A cube map can be employed to filter the light so that it can output whatever you want. You could have a simple spotlight, dual police beacons, or a disco light. Simply use the light vector as a look-up into this cube map to modulate it by the diffuse colour calculated in the fragment program. If you want specular lighting on top of this, then you'll have to do a second pass for each light on GeForce 3 and 4 hardware, since they only have four texture units. This technique is employed here.
- Culling polygons - I haven't included any per-light polygon culling in the code. If you intend to use these lights in medium-sized or large maps, then it's vital that you code in some sort of culling for the lights. Rather than messing about with using HL's PVS and suchlike, it may be easier to just construct an octree when the map is loaded up. A hundred extra triangles won't hurt the kind of hardware that can run this kind of effect, so it's more about culling large areas quickly and having a little bit more overdraw than going down to the per-polygon level.
- Article Credits
- Francis 'DeathWish' Woodhouse – Author
This article was originally published on Valve Editing Resource Collective (VERC).
The original URL of the article was http://collective.valve-erc.com/index.php?doc=1091469531-97736200.
The archived page is available here.
TWHL only publishes archived articles from defunct websites, or with permission.
For more information on TWHL's archiving efforts, please visit the
TWHL Archiving Project page.
Comments
You must log in to post a comment. You can login or register a new account.

