VERC: Rotating Objects Last edited 5 years ago2019-04-13 09:25:59 UTC
You are viewing an older revision of this wiki page. The current revision may be more detailed and up-to-date.
Click here to see the current revision of this page.
Many people have trouble making rotating objects. Below is a quick guide to making them. The information presented here is applicable to any rotating object.
An origin brush is a brush completely covered by the texture named
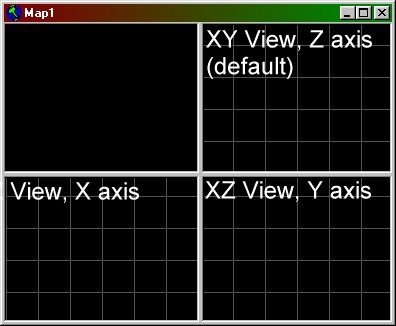
To make the object rotate in the Y or X axis, set the appropriate flag in the entity Flags properties.Decide which view the object should be rotating in, then set the appropriate axis flag as shown above.
Step one: Creating the object.
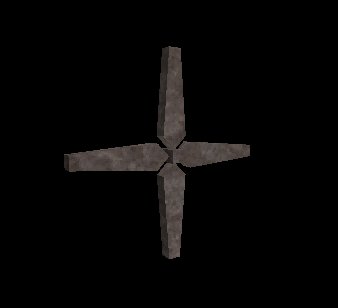
Create whatever you'd like. For example, say we're creating a fan. Build it as you'd like - this is the physical object that will be seen in the game.Step two: Making an origin brush.
Before you turn it into an entity, you need to add one more thing - the origin brush.An origin brush is a brush completely covered by the texture named
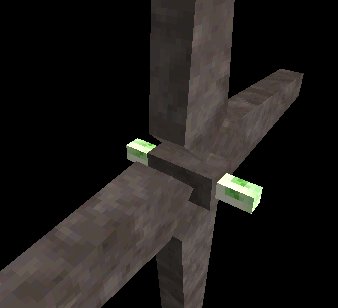
ORIGIN (found in the halflife.wad WAD file). Create a brush and place it through the object you just created. The exact center of the origin brush is the point around which the object will rotate. The fan you've just created should now look similar to the picture below.Note: If you do not include an origin brush in your rotating object, it will rotate around the (0 0 0) point of your map.
Step three: The entity.
Now select the object and its origin brush and press Ctrl+T to turn them into an entity. Set it to whatever rotating entity you want (func_rotating, func_door_rotating, etc). The entity will default to rotating around the Z axis of the origin brush. That is, if you were looking straight down at the map, you would see the object rotating.To make the object rotate in the Y or X axis, set the appropriate flag in the entity Flags properties.Decide which view the object should be rotating in, then set the appropriate axis flag as shown above.
Comments
You must log in to post a comment. You can login or register a new account.


