Vlatitude: Rotating Weapons Last edited 3 months ago2024-09-02 17:38:05 UTC
So here I am with another tutorial, and so shortly after my last one, customising the healthkit. Why? Well, it's all part of my campaign to show that Half-Life is far more customisable than most people think.
So what this one about? Well, it's the answer to an age old question, 'How to make rotating weapons?'. The main reason that you can't easily make rotating weapons is the fact that when things spawn, they spawn with a set angle, which can't be changed. Unless it's on a train...
So that's what we'll use, a train. The technique for making a train rotate is very simple, but relatively unknown until the technique appeared in Blue-Shift. You can find a good tutorial on it at VERC: Angular Velocity and Rotating func_trains, along with an example map with a cool scripted scene. I strongly recommend you read through the above tutorial before you commence reading the body of this one, as it will help greatly.
Whether you are making your rotating weapons for Single Player, or multiplayer, you need to follow step 1. Then, if you are making them for multiplayer, follow step 2.
Step 1:
So, the first thing to do, obviously, is to create a room to put your weapon in. For this tutorial I have chosen a Xen mutated courtyard, decorated it a bit, put in a few Xen entities and covered one of the walls with Xen creepers. You can make it any theme you want though.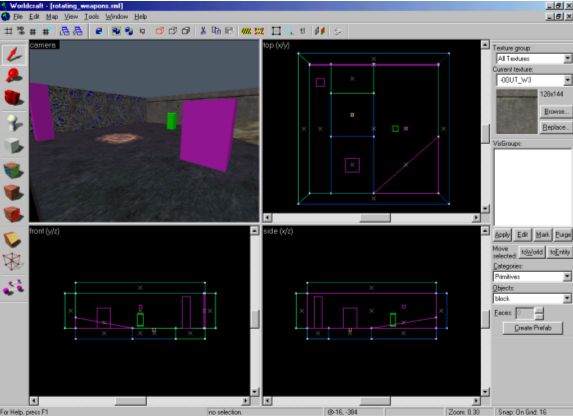
Once you have made and decorated you room, you need to put the weapon in. For this tutorial I have chosen the Gauss Gun, as it is alienesque, and as such has the capacity to float. Place it slightly above the ground, how far is up to you, but it must be at least 1 unit to spin properly, and definitely no higher than the player.
Next thing to do is make the
func_train below it. Make a brush 2 units by 2 units and make it stretch from the floor to the bottom of the weapon, so the weapon sits on top of it. Texture this with the {invisible texture and copy and paste it so it is in the same place. Texture the second one with the ORIGIN texture. Select both of these and tie them to a func_train. Give the func_train a name (we will call it train1 for this tutorial), a rendermode of solid and a speed of 999. Now we have created an ûber fast invisible train that the weapon sits on.Now make 2 path_corner s and place one in the centre of the train1 and the other 1 unit out (because Half-Life crashes if you have two in the same place). Give them a name (we will call them path1 and path2 for this tutorial) and a Next Stop Target of the other
path_corner (so path1 goes to path2 next, and vice versa)Next go back to the func_train and set the First Stop Target to one of the path_corners. Now, if you don't have the latest fgd, turn Smart Edit off and add a new key called avelocity, and give it a value of 0 x 0, where x is the speed your weapon will rotate (I recommend 200-500) If you do have the latest fgd, just set the avelocity to 0 x 0.
Make a
trigger_auto and make it target mm_start and give it a trigger state of On. Now make a multi_manager next to the trigger_auto and give it a name of mm_start. Now anything added to the multi_manager will get triggered at the start. Add train1 to the multi_manager. The weapon will now appear to spin!However, you will not be able to walk through the train, and if you jump on top of the train you will start spinning. To stop this, you need to use some
trigger_changetargets to change where the train moves to.Move train1 down so it is more than 1 unit below the ground. Next make a path_corner at the new centre of train1.
Make two trigger_changetargets and give them names (we will call them weapon1_change1 and weapon1_change2 for this tutorial) Change weapon1_change1 and weapon1_change2's KillTarget to target, and give it a New Target of path3. Then give weapon1_change1 a Target of path1, and weapon1_change2 a Target of path3.
Now make a multi_manager and give it a name (we will call it weapon1_mm1 for this tutorial) Then add the keys weapon1_change1 and weapon1_change2 with a value of . Finally change the Target of the weapon to trigger weapon1_mm1.
Now the weapon will spin, and you won't get stuck/spin after you pick it up.
Step 2:
If you want it to work in multiplayer you need a few more entities so the train will come back up and spin when the weapon respawns.Firstly change the Next Stop Target of path3 to path1, and give it a Wait Here value of 19. Now copy weapon1_change1 and weapon1_change2 and rename them (we will call them weapon1_change3 and weapon1_change4 for this tutorial) Change their New Targets to path1 and path2 respectively. Finally add weapon1_change3 and weapon1_change4 to weapon1_mm1 and give them a value of 2. Now the train will come up when the weapon respawns!

- Categories
- Archived Articles
- Vlatitude Archive
- Tutorials
- Goldsource Tutorials
- Mapping
- Examples Required
- Images Required
- Article Credits
- Inanimate Carbon Rod – Author
This article was originally published on 69th Vlatitude.
The original URL of the article was http://www.vlatitude.com/tutorials.php?tutID=53.
The archived page is available here.
TWHL only publishes archived articles from defunct websites, or with permission.
For more information on TWHL's archiving efforts, please visit the
TWHL Archiving Project page.
Comments
You must log in to post a comment. You can login or register a new account.