VERC: Pitch Yaw Roll Demystified Last edited 2 years ago2022-09-29 07:55:18 UTC
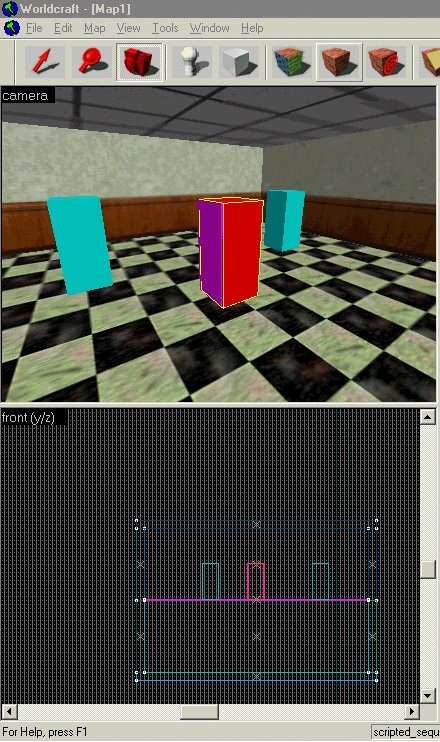
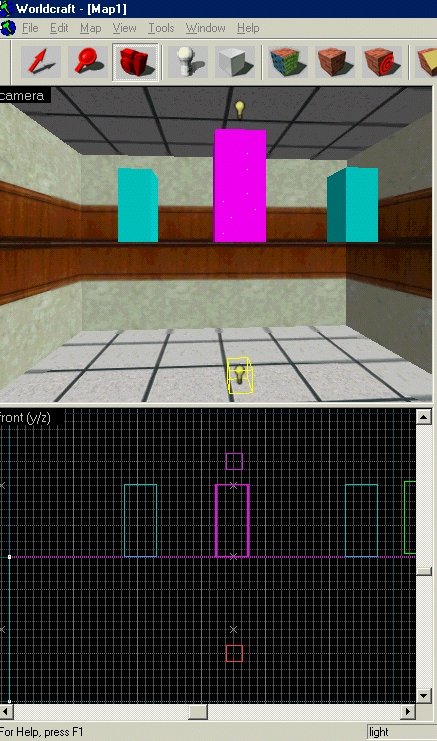
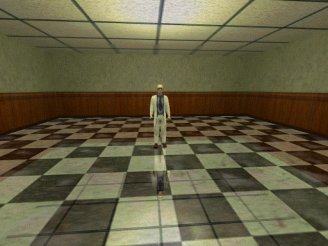
One of the most over-looked properties that entities possess is the PYR shift. It can produce some very dramatic effects. It can be used to invert a monster, or flip a sprite into a new angle. It also allows the monsters to move around upside-down as if they were standing regularly. Here's how to make a mirror effect with a "reflected scientist":
Only certain animations will work, any animation that has the models feet apart or at different locations will give it away, as the feet won't match up, so making a walking reflection won't work, as it's the same model inverted the feet will move wrong. This can be compensated for by having the model walk a raised platform that will obstruct the players view of the feet.
Even though the model is inverted, it walks as if it is still above the floor. You may get a monster stuck in wall error if you try to place them on a larger brush, so keep them on a 1 unit thick func_wall. Make the scaffold they walk on a func_illusionary, and place a 1 unit thick func_wall beneath it Render Mode Additive, FX Amount 0, to make it invisible. Place the Monster with the PYR of 0 180 180 on the func_wall, so he's in the func_illusionary to start. Place scripted_sequences at both ends of both the scaffolds, and have them do the idle1 animation. Start both scientists in the same spot in the top view, and line up both sets of scripts. Have them target each other, and start the whole thing off with a trigger_auto.
Sprites, if enabled in Worldcraft by adding a folder named sprites to the Worldcraft folder and then extracting the sprites from the PAK, allow you to see the PYR shift in WC as you will in game!
Texturing is invaluable, as is placement! You need to make sure that the textures are exactly aligned, use -1 values in your X and Y texture scales if needed, like for any text that may appear. Also you may need to align the monsters in 1 unit increments to assure proper placement, in the enclosed .RMF, I left the scientist 1 unit off, look at the feet, it' s noticeably off.
There are other things possible, but a good magician never gives away all his secrets! Play around with it and see what's possible!
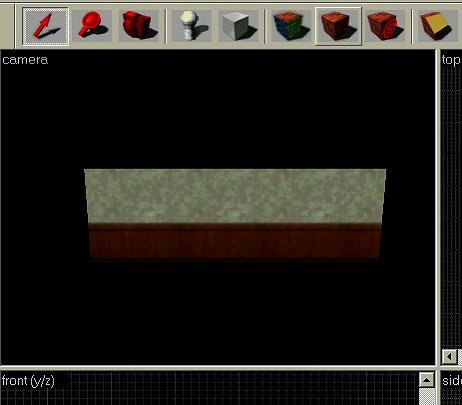
- Open a new map in Worldcraft. Go to the texture browser and select the texture
FIFTIES_WALL14U, set your grid size at 16 units. Now select the Block tool (shift + B) and make a block 16 units thick by 400 long by 144 units high.
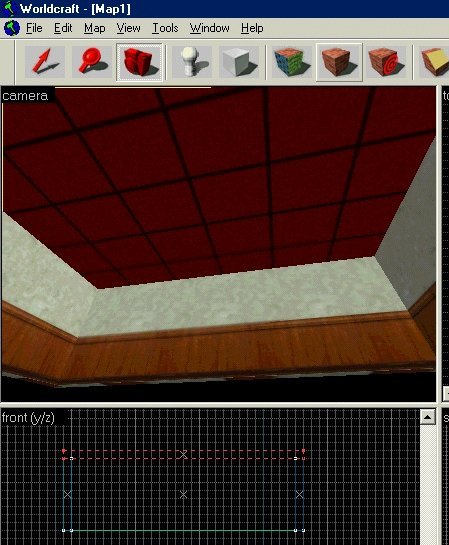
- Now build four more, and arrange them into a basic room. Select the texture
FIFTIES_CEIL01and build a brush that totally covers the room.
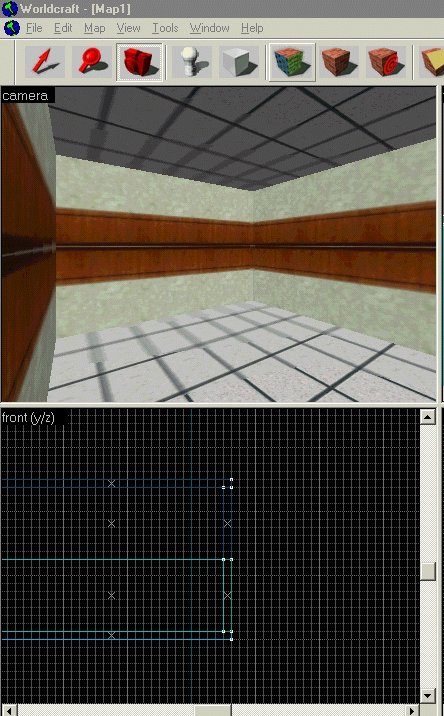
- Now select all the walls and ceiling, hold down ctrl and click on everything in the 3D view. Hold down shift and clone the room. Now while it's all still selected, hit Ctrl + M to bring up the Transformation box. Make sure rotate is checked and under Y type 180 and then ok. This copies the room upside down.
- Now browse and find the texture
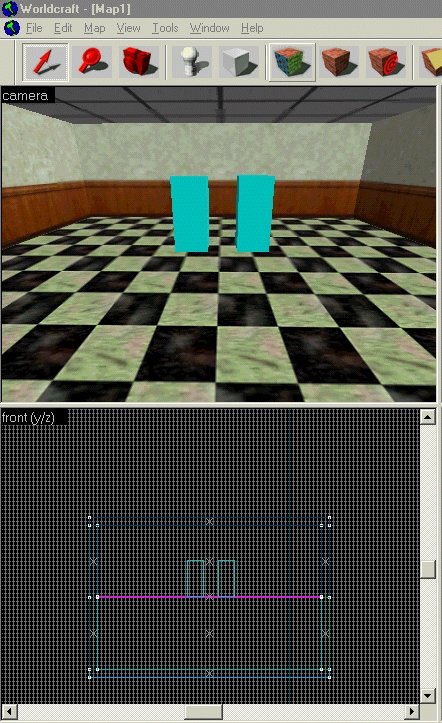
-0FIFTIES_FO1. Decrease your grid size to 1 unit and make a brush 1 unit thick in the area where the floor should be, according to the texture. Use tie to entity (Ctrl + T), and make it a func_wall. Set it's Render Mode to Texture and it's FX Amount (1-255) to 120. Now put two monster_scientists in your map, on the top-side of the func_wall floor.
- Click on one and give it a name of bob, give him the Body "Glasses". Check his flags "Wait for Script" and "Gag".
- Click on the other, make him "Glasses" too, name him bob1, and give him the same flags, but give him a PYR value of 0 180 180. Now put two scripted_sequences in your level. This is important for this effect, Do Not Name Them! Give them a Target Monster of bob and bob1 respectively, an idle animation of idle1 in each, Move to Position Instantaneous, and check the flags Repeatable and No Interruptions. Now place both scripted_sequences overlapping each other, make sure the white line of the compass is the same angle for both.
- Now add an info_player_start into the level. Add two lights, and place each equal distance apart from each other in the center of the room.
- You're now ready to compile! Here's the finished effect:
Observations
Now here's the rules that I've found:Only certain animations will work, any animation that has the models feet apart or at different locations will give it away, as the feet won't match up, so making a walking reflection won't work, as it's the same model inverted the feet will move wrong. This can be compensated for by having the model walk a raised platform that will obstruct the players view of the feet.
Even though the model is inverted, it walks as if it is still above the floor. You may get a monster stuck in wall error if you try to place them on a larger brush, so keep them on a 1 unit thick func_wall. Make the scaffold they walk on a func_illusionary, and place a 1 unit thick func_wall beneath it Render Mode Additive, FX Amount 0, to make it invisible. Place the Monster with the PYR of 0 180 180 on the func_wall, so he's in the func_illusionary to start. Place scripted_sequences at both ends of both the scaffolds, and have them do the idle1 animation. Start both scientists in the same spot in the top view, and line up both sets of scripts. Have them target each other, and start the whole thing off with a trigger_auto.
Sprites, if enabled in Worldcraft by adding a folder named sprites to the Worldcraft folder and then extracting the sprites from the PAK, allow you to see the PYR shift in WC as you will in game!
Texturing is invaluable, as is placement! You need to make sure that the textures are exactly aligned, use -1 values in your X and Y texture scales if needed, like for any text that may appear. Also you may need to align the monsters in 1 unit increments to assure proper placement, in the enclosed .RMF, I left the scientist 1 unit off, look at the feet, it' s noticeably off.
There are other things possible, but a good magician never gives away all his secrets! Play around with it and see what's possible!
Resources
Below is a list of entities related to this tutorial. For a more concrete illustration, check out the example map linked below.- Categories
- Archived Articles
- VERC Archive
- VERC - Half-Life
- VERC - mapping
- Tutorials
- Mapping
- Examples Required
- Article Credits
- Chris 'autolycus' Bokitch – Author
This article was originally published on Valve Editing Resource Collective (VERC).
The original URL of the article was http://collective.valve-erc.com/index.php?doc=1045097562-00971300.
The archived page is available here.
TWHL only publishes archived articles from defunct websites, or with permission.
For more information on TWHL's archiving efforts, please visit the
TWHL Archiving Project page.
Comments
You must log in to post a comment. You can login or register a new account.

